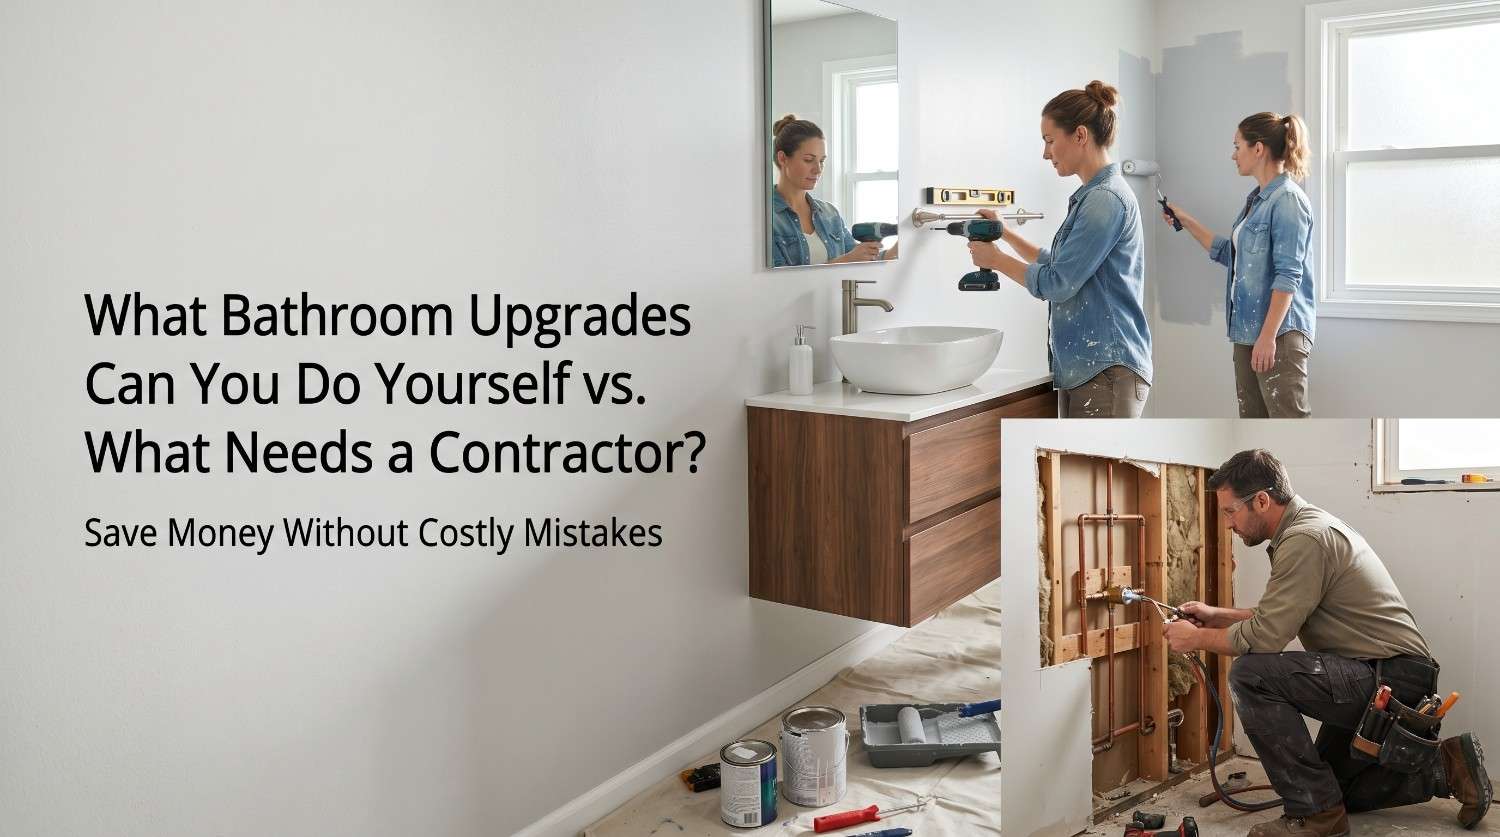
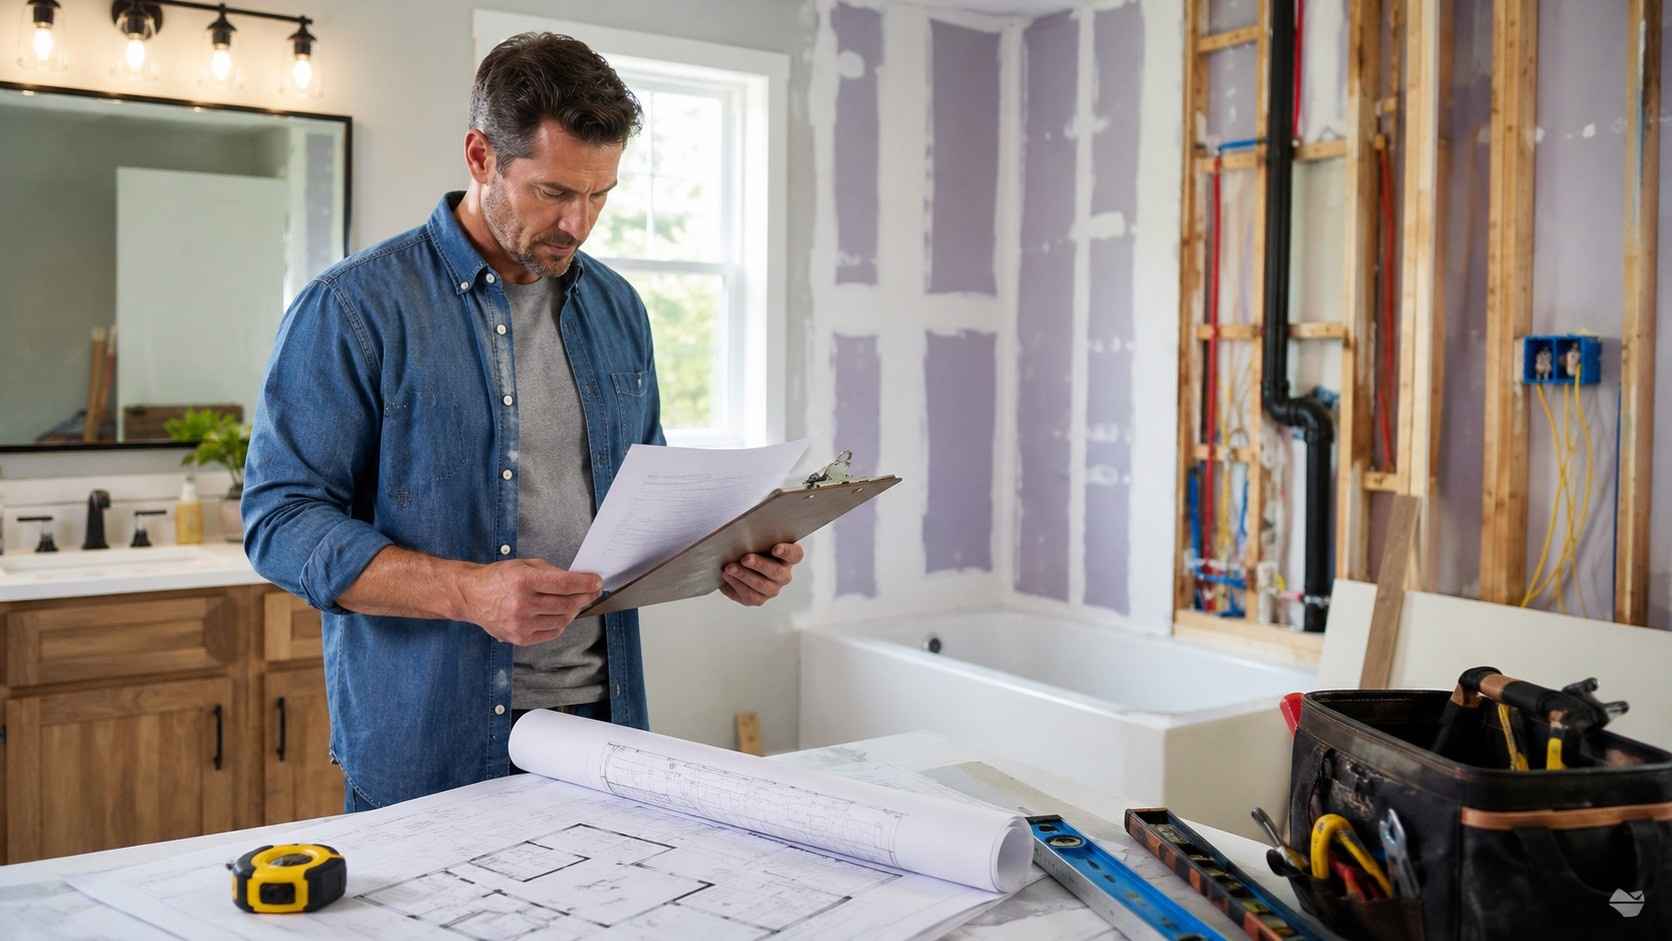
Before this guide gives you a single step, it needs to give you one honest number: failed DIY bathroom renovations cost 20–30% more than hiring a professional from the start. That's not an argument against DIYing a bathroom. It's an argument for being honest about which parts you should actually do yourself. Most bathroom renovations can and should be a hybrid, some phases done by the homeowner, some by licensed professionals.
The savings are real. The disasters are also real, and they tend to cluster around the same three tasks every time: waterproofing, plumbing relocation, and electrical. This guide works through every phase in sequence, tells you what's genuinely DIY-able, and gives you the framework to decide before you start swinging a hammer.
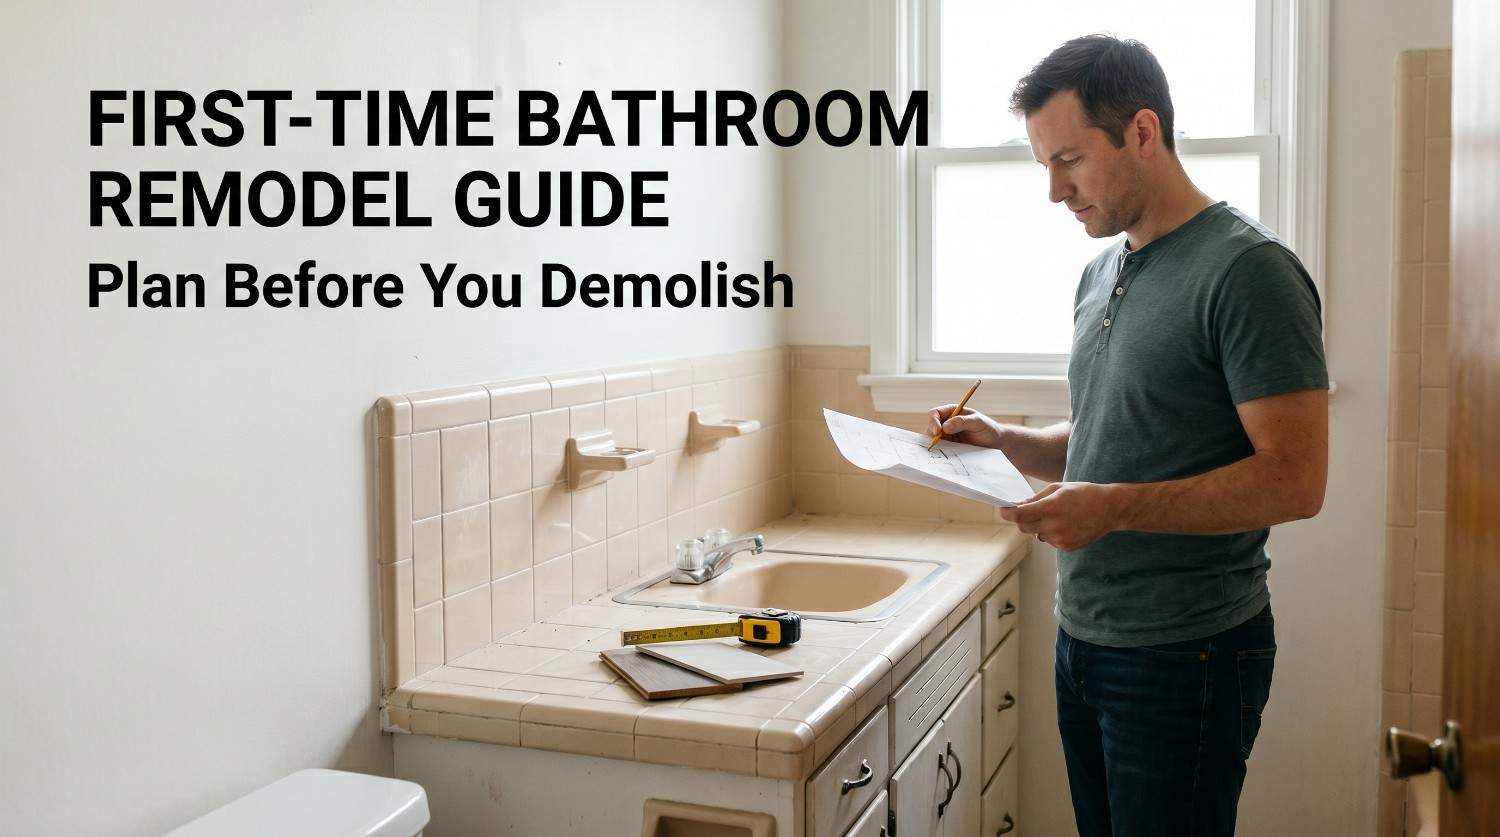
Step 1: Assess Your Skills Before You Assess the Bathroom
Most DIY guides skip this. Answer these questions before committing to scope:
Have you done tile work before? (Tiling a shower without waterproofing experience is the most common expensive mistake.)
Have you replaced a faucet or toilet at the same location? (This is manageable DIY. Relocating either is not.)
Do you have 3–4 weeks of evenings and weekends available? (A contractor's 4-week job takes 7–10 weeks working part-time.)
Can your household function without the bathroom for the project duration?
Do you have a 15–20% contingency budget above your estimate? (Old pipes and hidden water damage show up in almost every gut renovation.)
If you answered no to more than two of these, a hybrid approach doing the safe tasks yourself and hiring licensed trades for the technical work will save more money than a full DIY attempt that requires professional rescue.
Step 2: Set the Budget and Scope
DIY costs $70–$100 per square foot. Professionals run $120–$275 per square foot. The gap is real, but it comes from labor savings on every task and not every task is appropriate for DIY labor.
Budget breakdown for a typical bathroom:
Materials and fixtures: 60–80% of total cost regardless of who installs them
Labor: 20–40% of total (what DIY saves on safe tasks)
Permits: $100–$1,000 depending on jurisdiction and scope
Contingency: always 15–20% above estimate
The single biggest cost control lever: keep the existing layout. Moving a drain line or supply line adds $2,000–$5,000 and requires a licensed plumber. Relocating electricity adds a similar cost. Every layout change you avoid cuts budget and keeps you in legal DIY territory.
Order materials before demolition starts. Supply chains are unpredictable. Custom tile and vanities run 6–12 weeks. If walls are already open and materials haven't arrived, the project stalls and costs pile up.
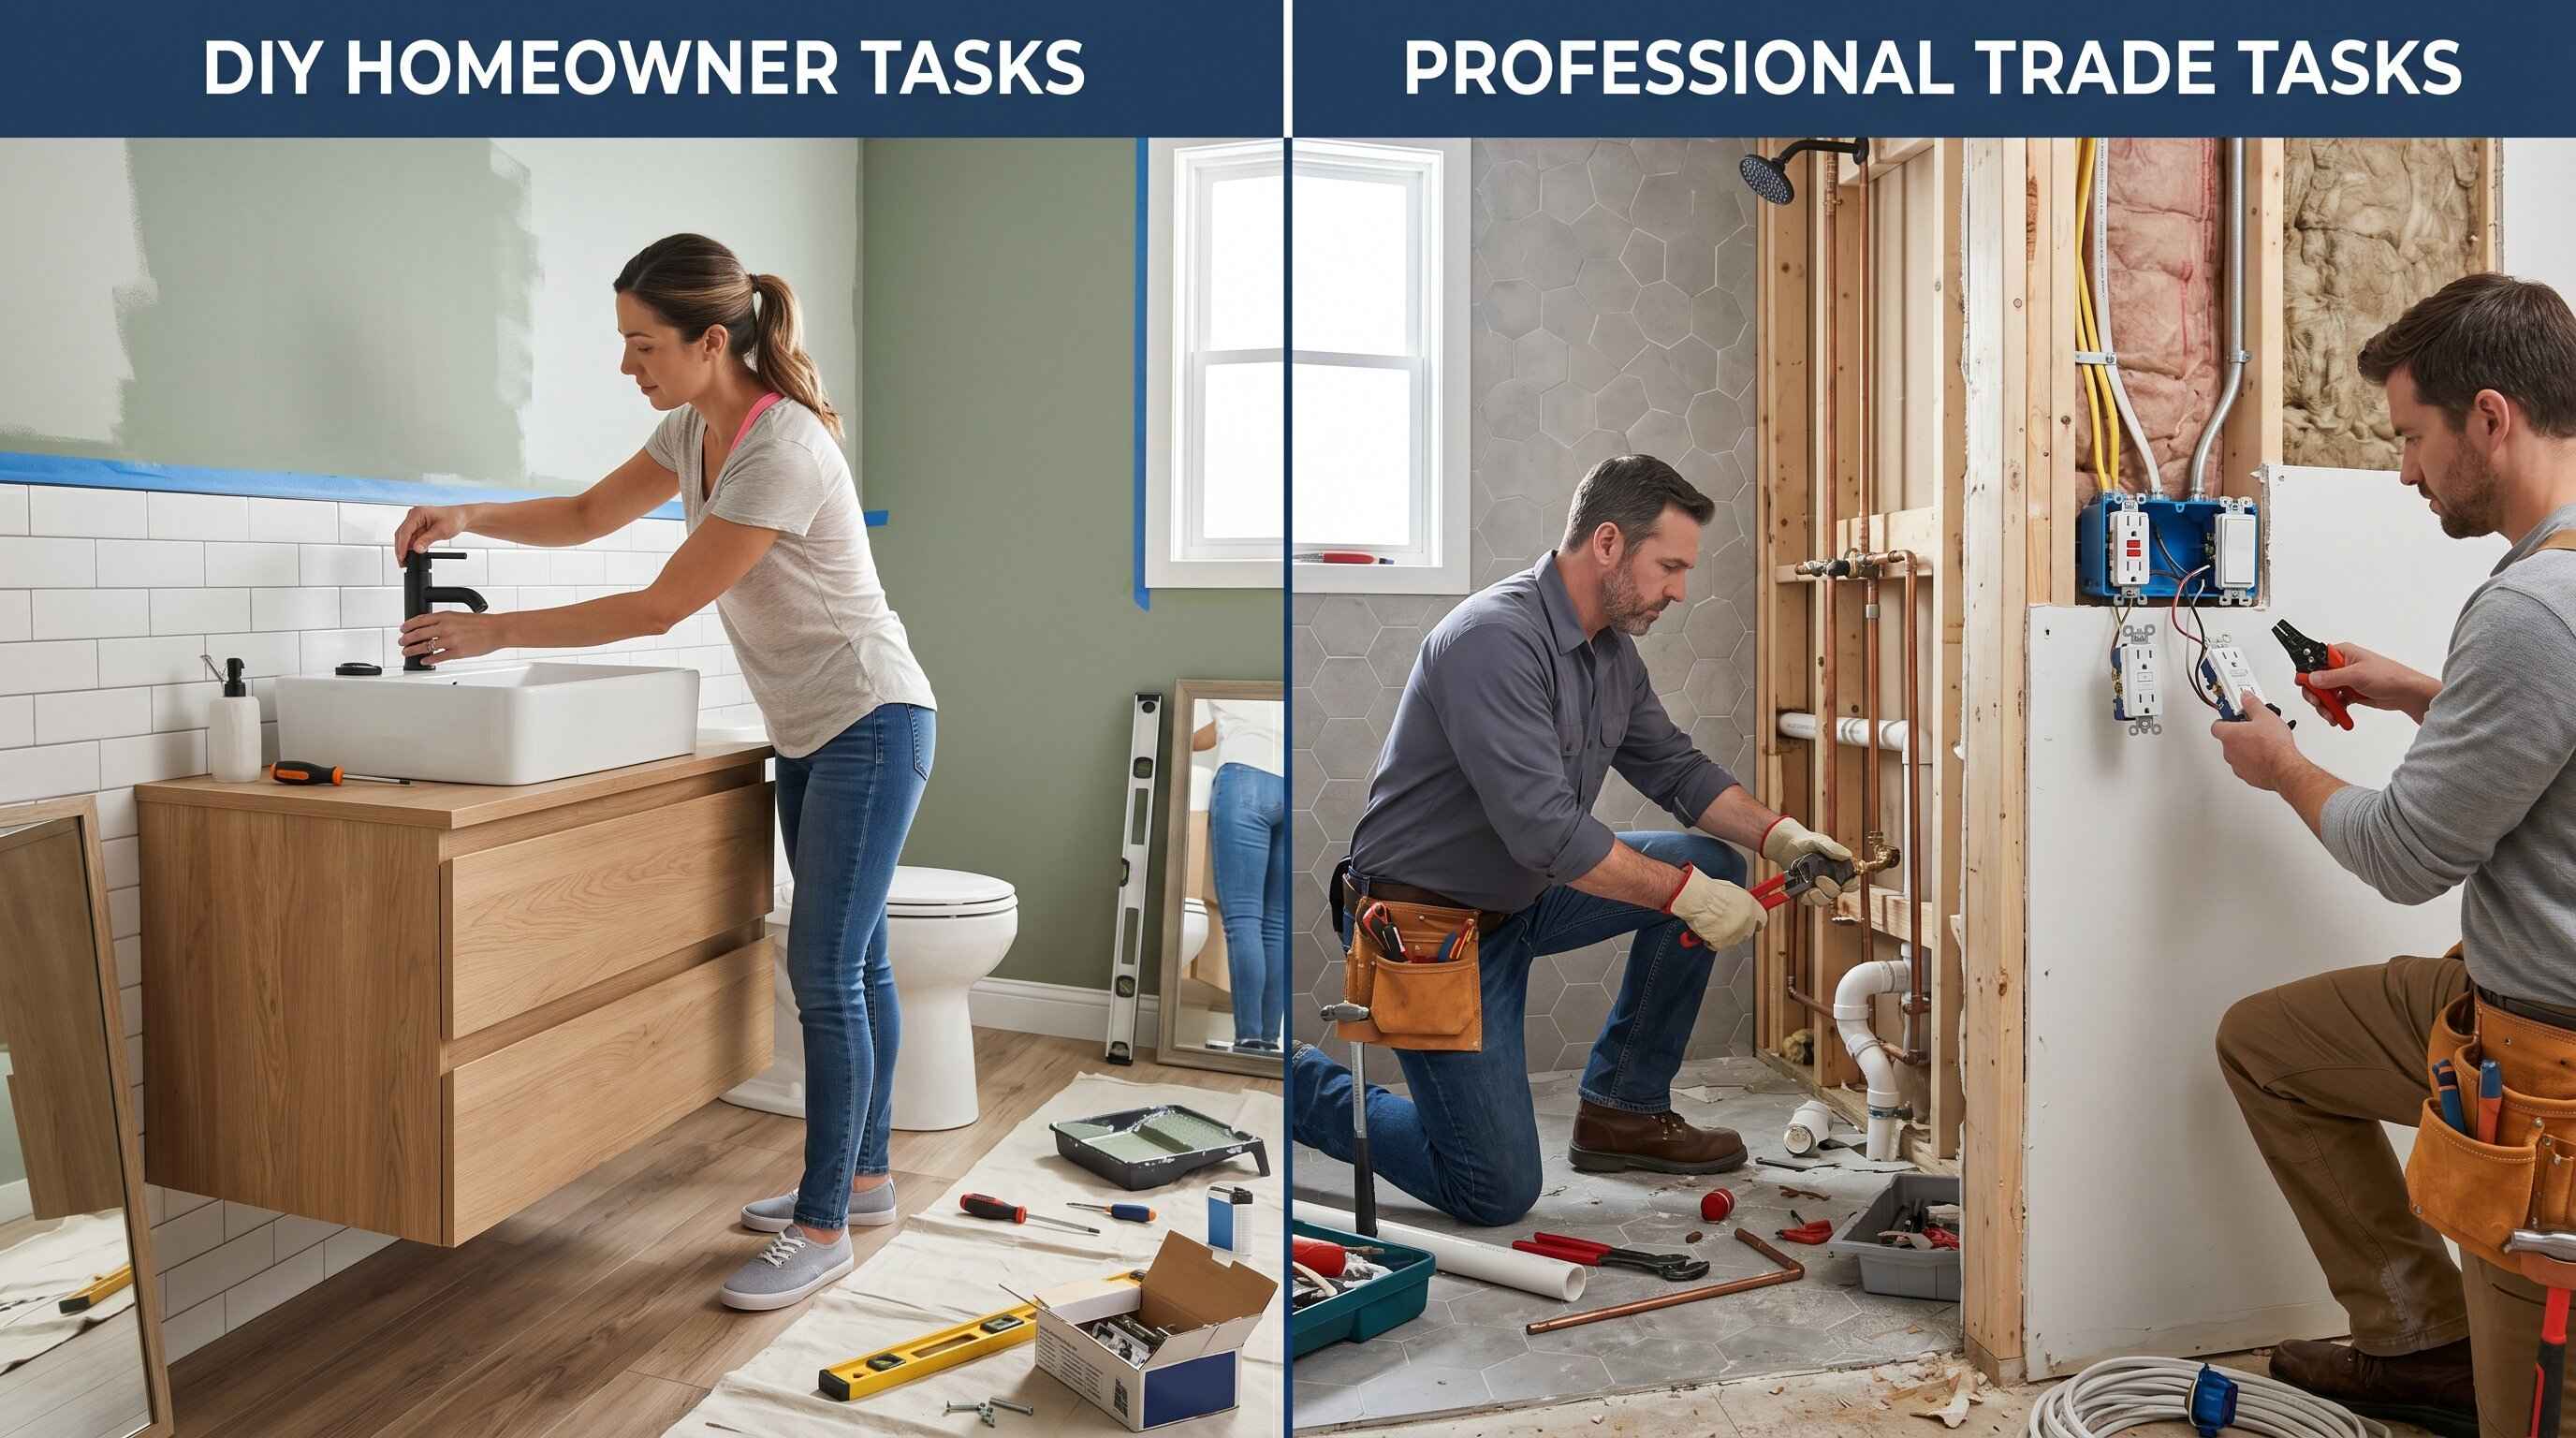
Step 3: The DIY vs Hire Split: By Task
This is the decision every competitor avoids making clearly. Here it is:
The Hybrid Worked Example
A homeowner with a $22,000 full-hire estimate and a $14,000 full-DIY materials cost goes hybrid:
DIY: demolition, painting, vanity installation, hardware
Hire: plumbing update, electrical, waterproofing + shower tile
Total: $17,500. Saves $4,500 vs full hire. Avoids the permit violation and water damage risk of DIYing licensed work. This is where most homeowners should land.
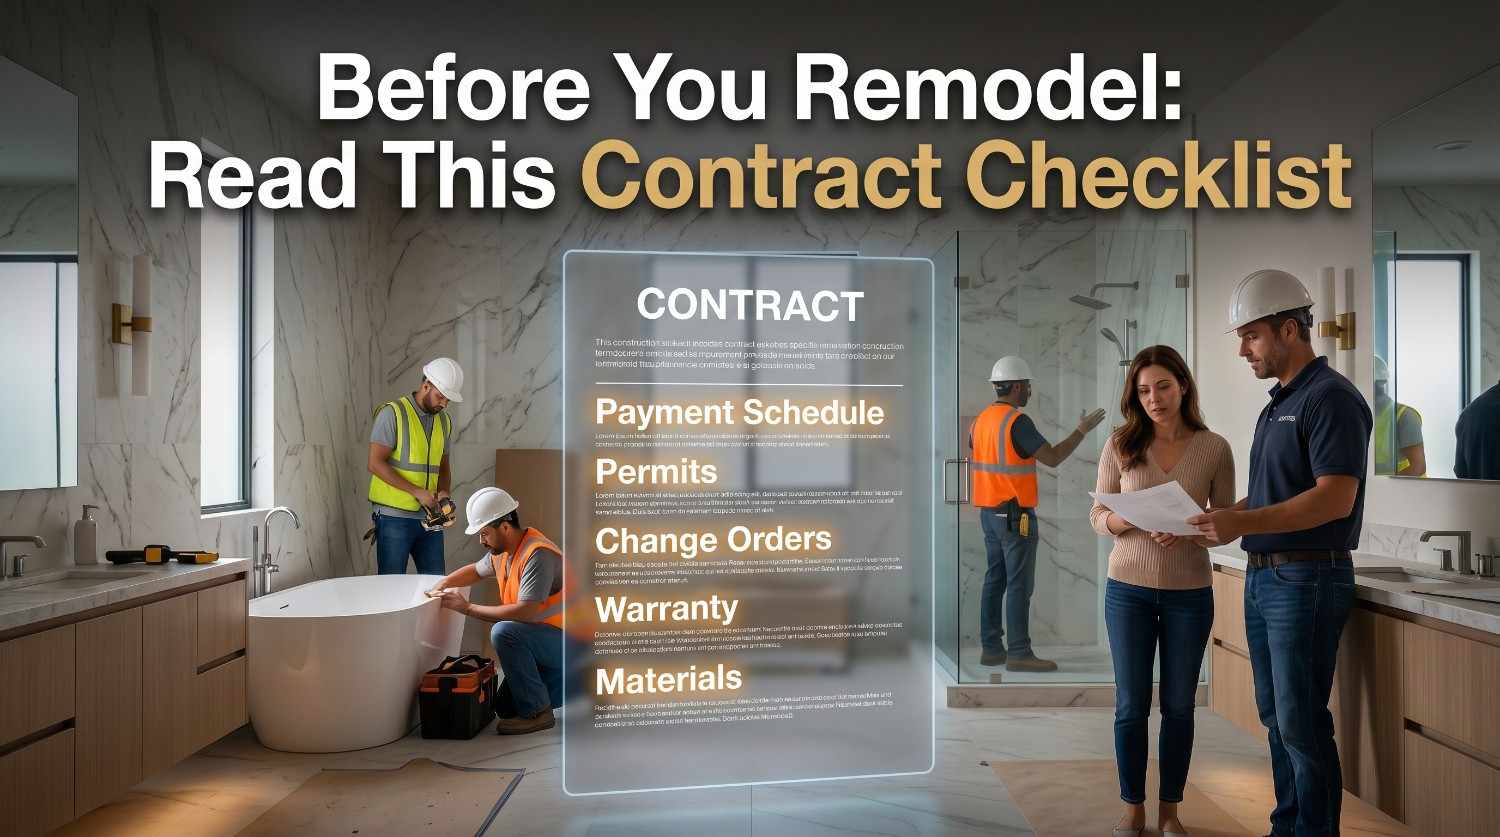
Step 4: Permits Get Them First
Most homeowners ask about permits too late. The rule is simple: if you're touching plumbing, electrical, or structural systems, you need a permit in almost every jurisdiction.
What requires a permit in most areas:
Moving or adding plumbing supply or drain lines
New electrical circuits, outlets, or panel work
Structural changes (removing walls, changing window size)
Adding or relocating ventilation ducting
What typically doesn't require a permit:
Like-for-like fixture replacements at the same location
Cosmetic work (paint, tile over existing, hardware)
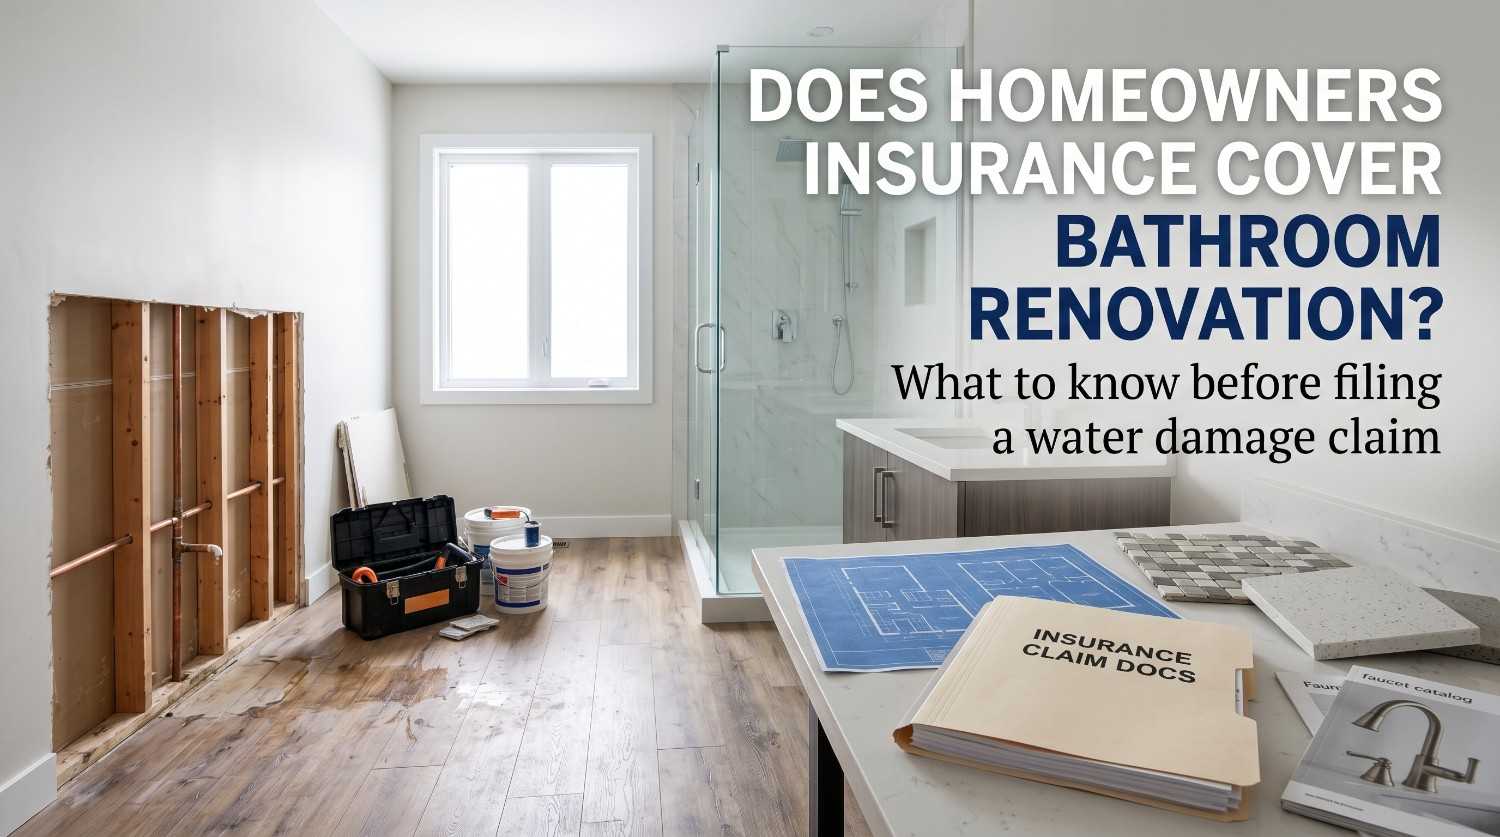
Skipping a permit creates three real consequences: it can halt a home sale when the unpermitted work is discovered, it may void your homeowner's insurance for related claims, and you may be required to demolish and redo the work to correct it. Your local building department will tell you exactly what your project needs to call them before you start.
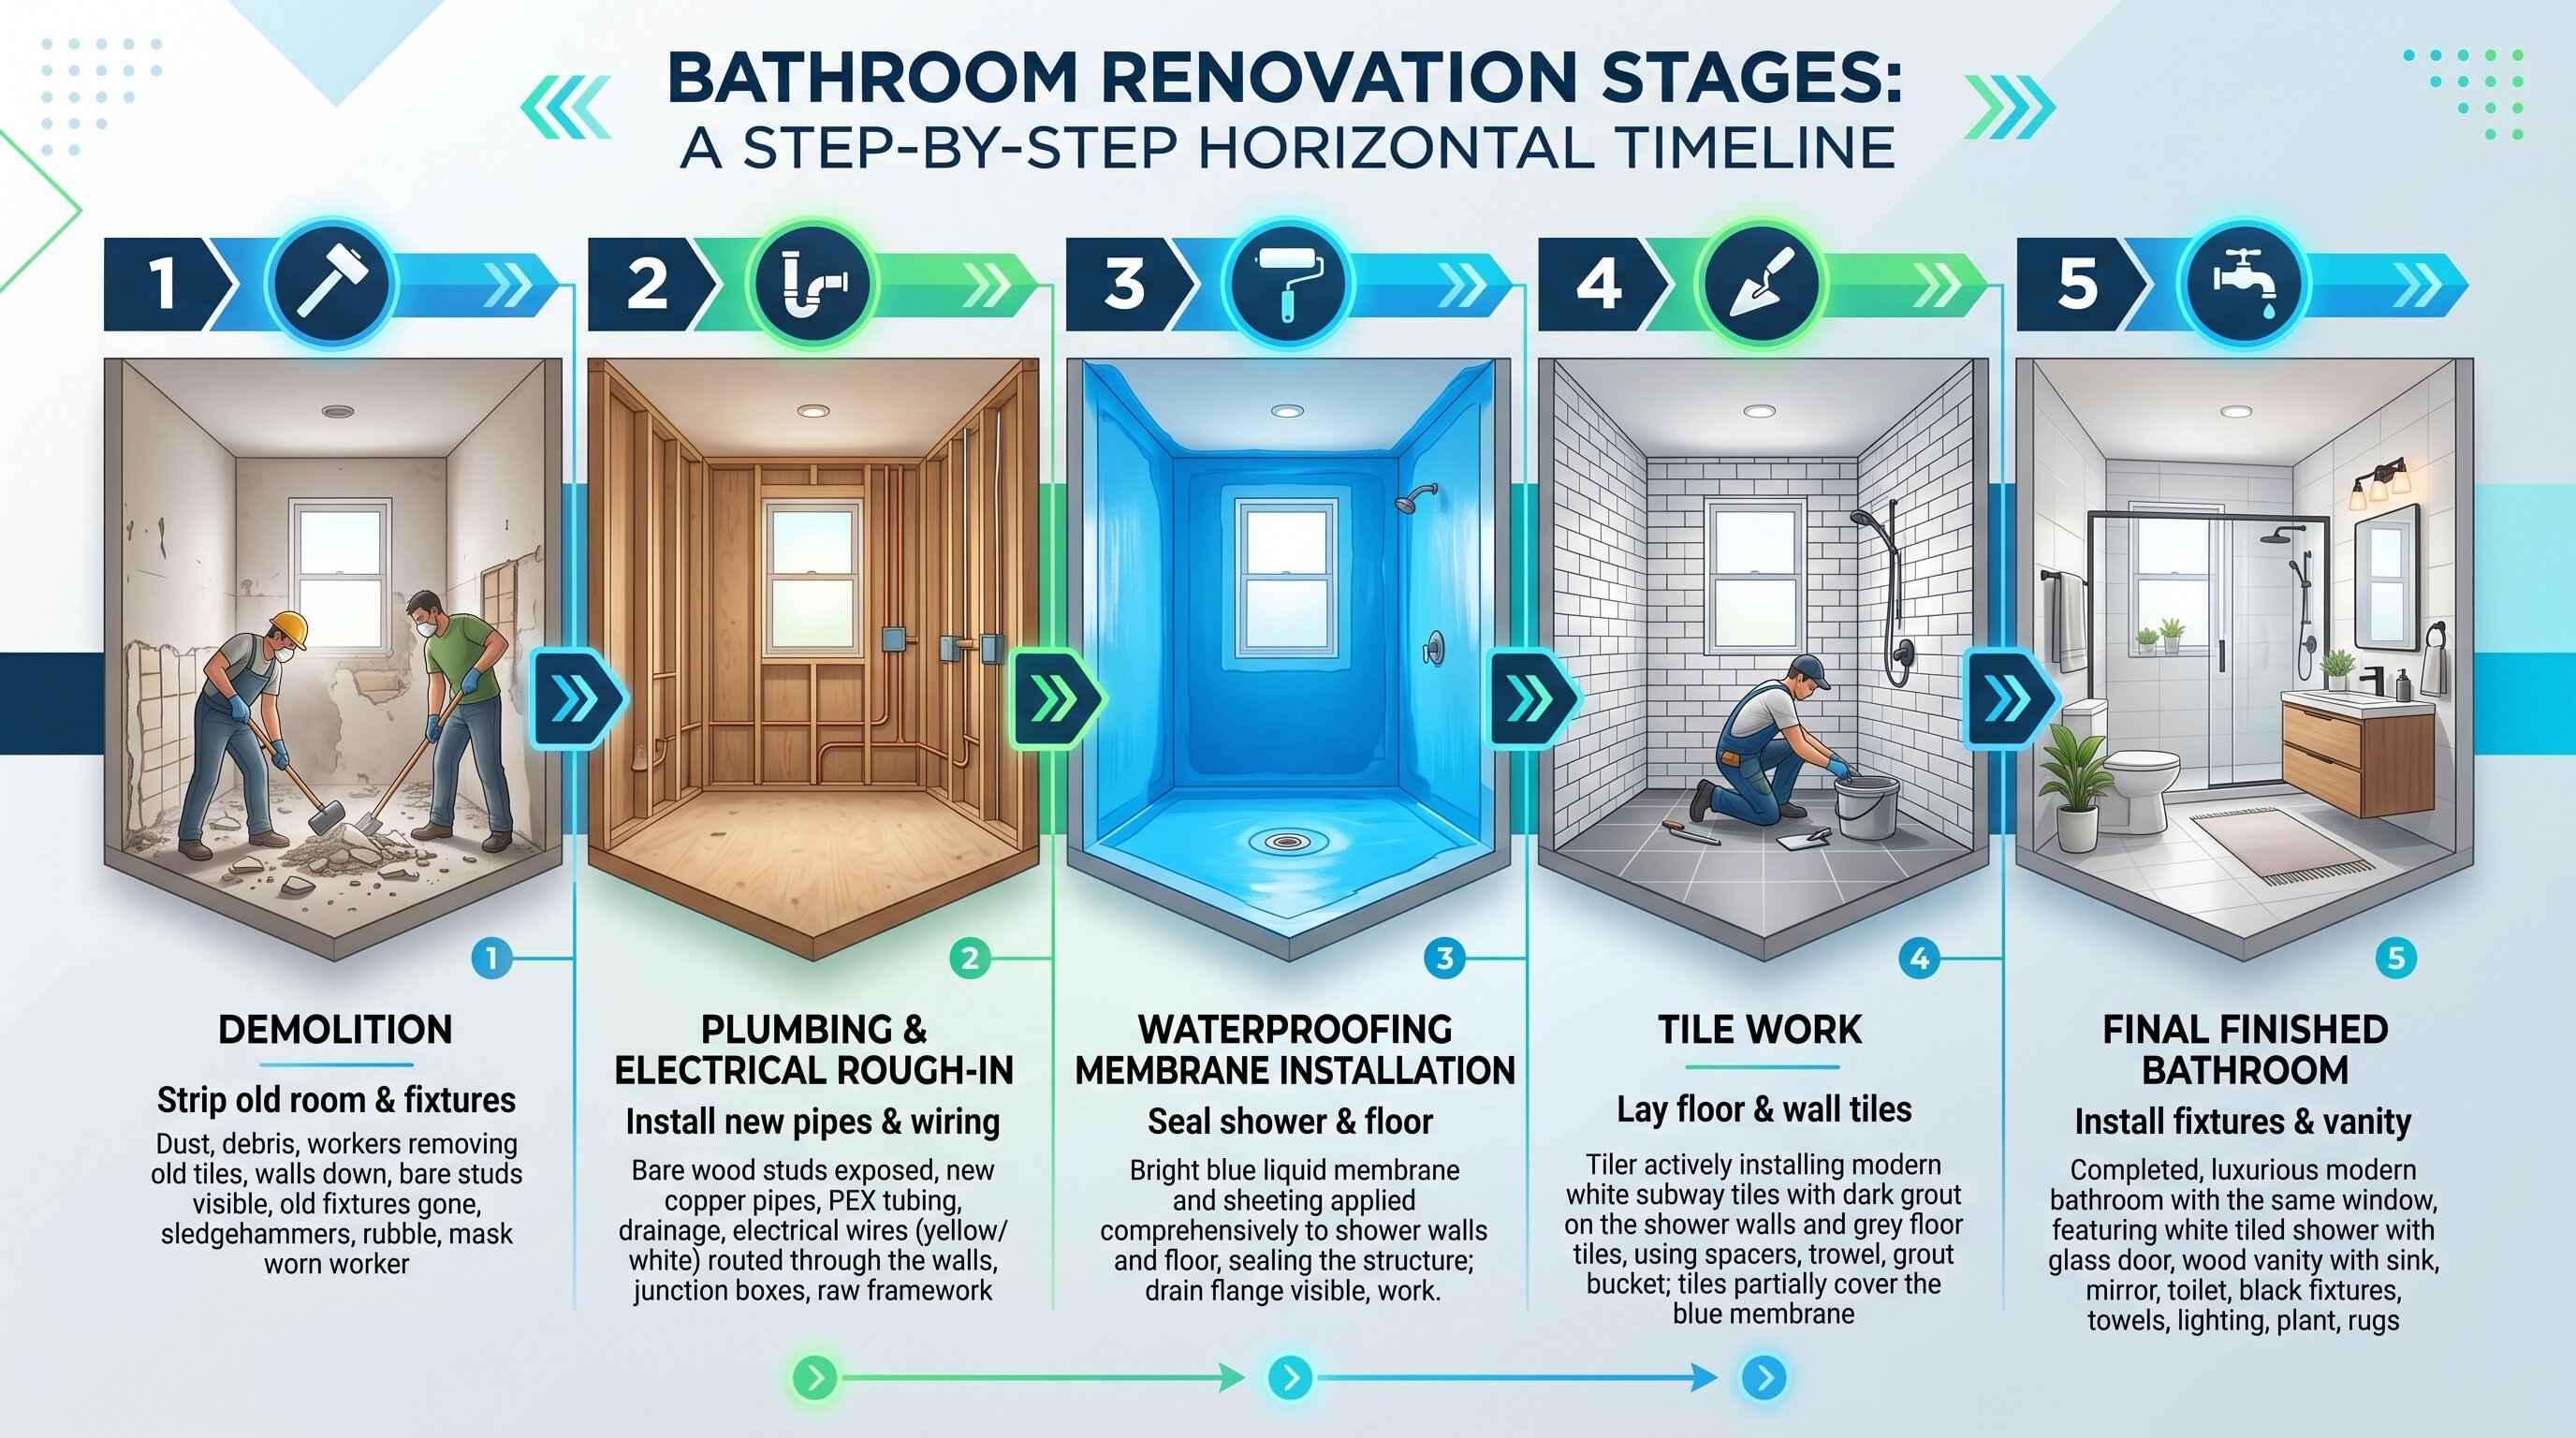
Step 5: Demolition
Demolition is the safest DIY phase of a bathroom renovation. Before anything else:
Shut off the water at the main valve or the bathroom supply valves and test that the shutoff actually works before demolition begins
Seal doorways with plastic sheeting tile dust and drywall powder travel farther than you expect
Set up a temporary bathroom arrangement for your household figure this out before, not during
Demolition sequence:
Drain and remove toilet (plug drain to block sewer gas)
Remove vanity and mirror
Remove shower fixtures and enclosure
Strip tile from walls and floor
Remove drywall in wet areas
Wear safety glasses and a dust respirator. Rent a wet-dry shop vacuum for the tile dust. Check inside walls as you go hidden water damage, mold, and outdated wiring are common findings that change the project scope and budget.
Step 6: Rough Trades: Hire These
After demolition and before anything else goes up, the licensed trades do their work:
Plumber: New supply lines, drain updates, valve repositioning
Electrician: New circuits, GFCI outlets (required within 6 feet of any water source by code), exhaust fan wiring
Inspector: If permits are required, inspection happens before walls close
This is the phase most DIYers try to skip to save money. It's the phase where skipping costs the most. A failed rough-in found after tile and drywall are installed means demolishing finished work to reach the problem.
Step 7: Waterproofing: The Most Dangerous DIY Decision
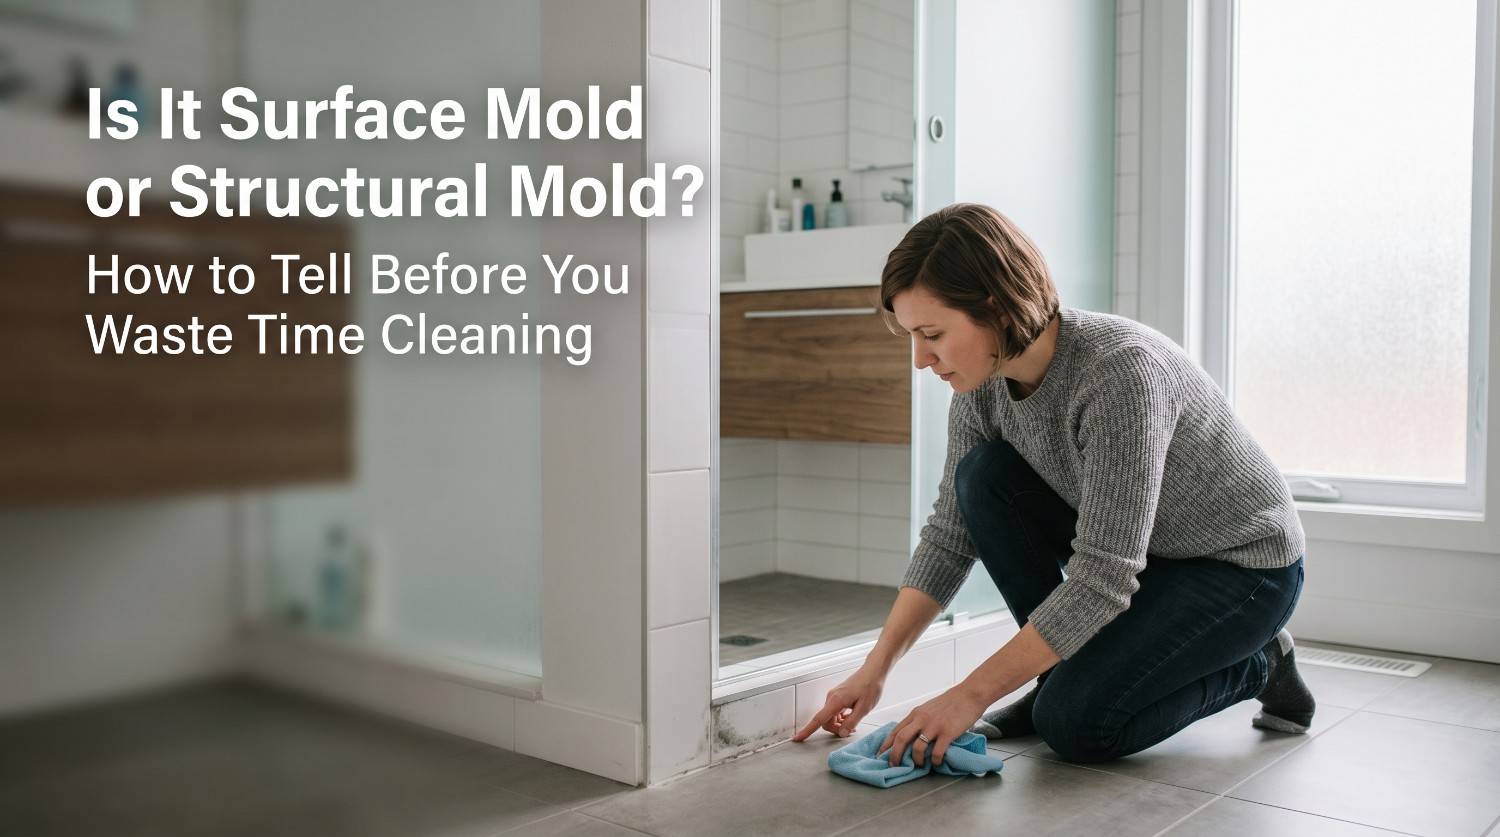
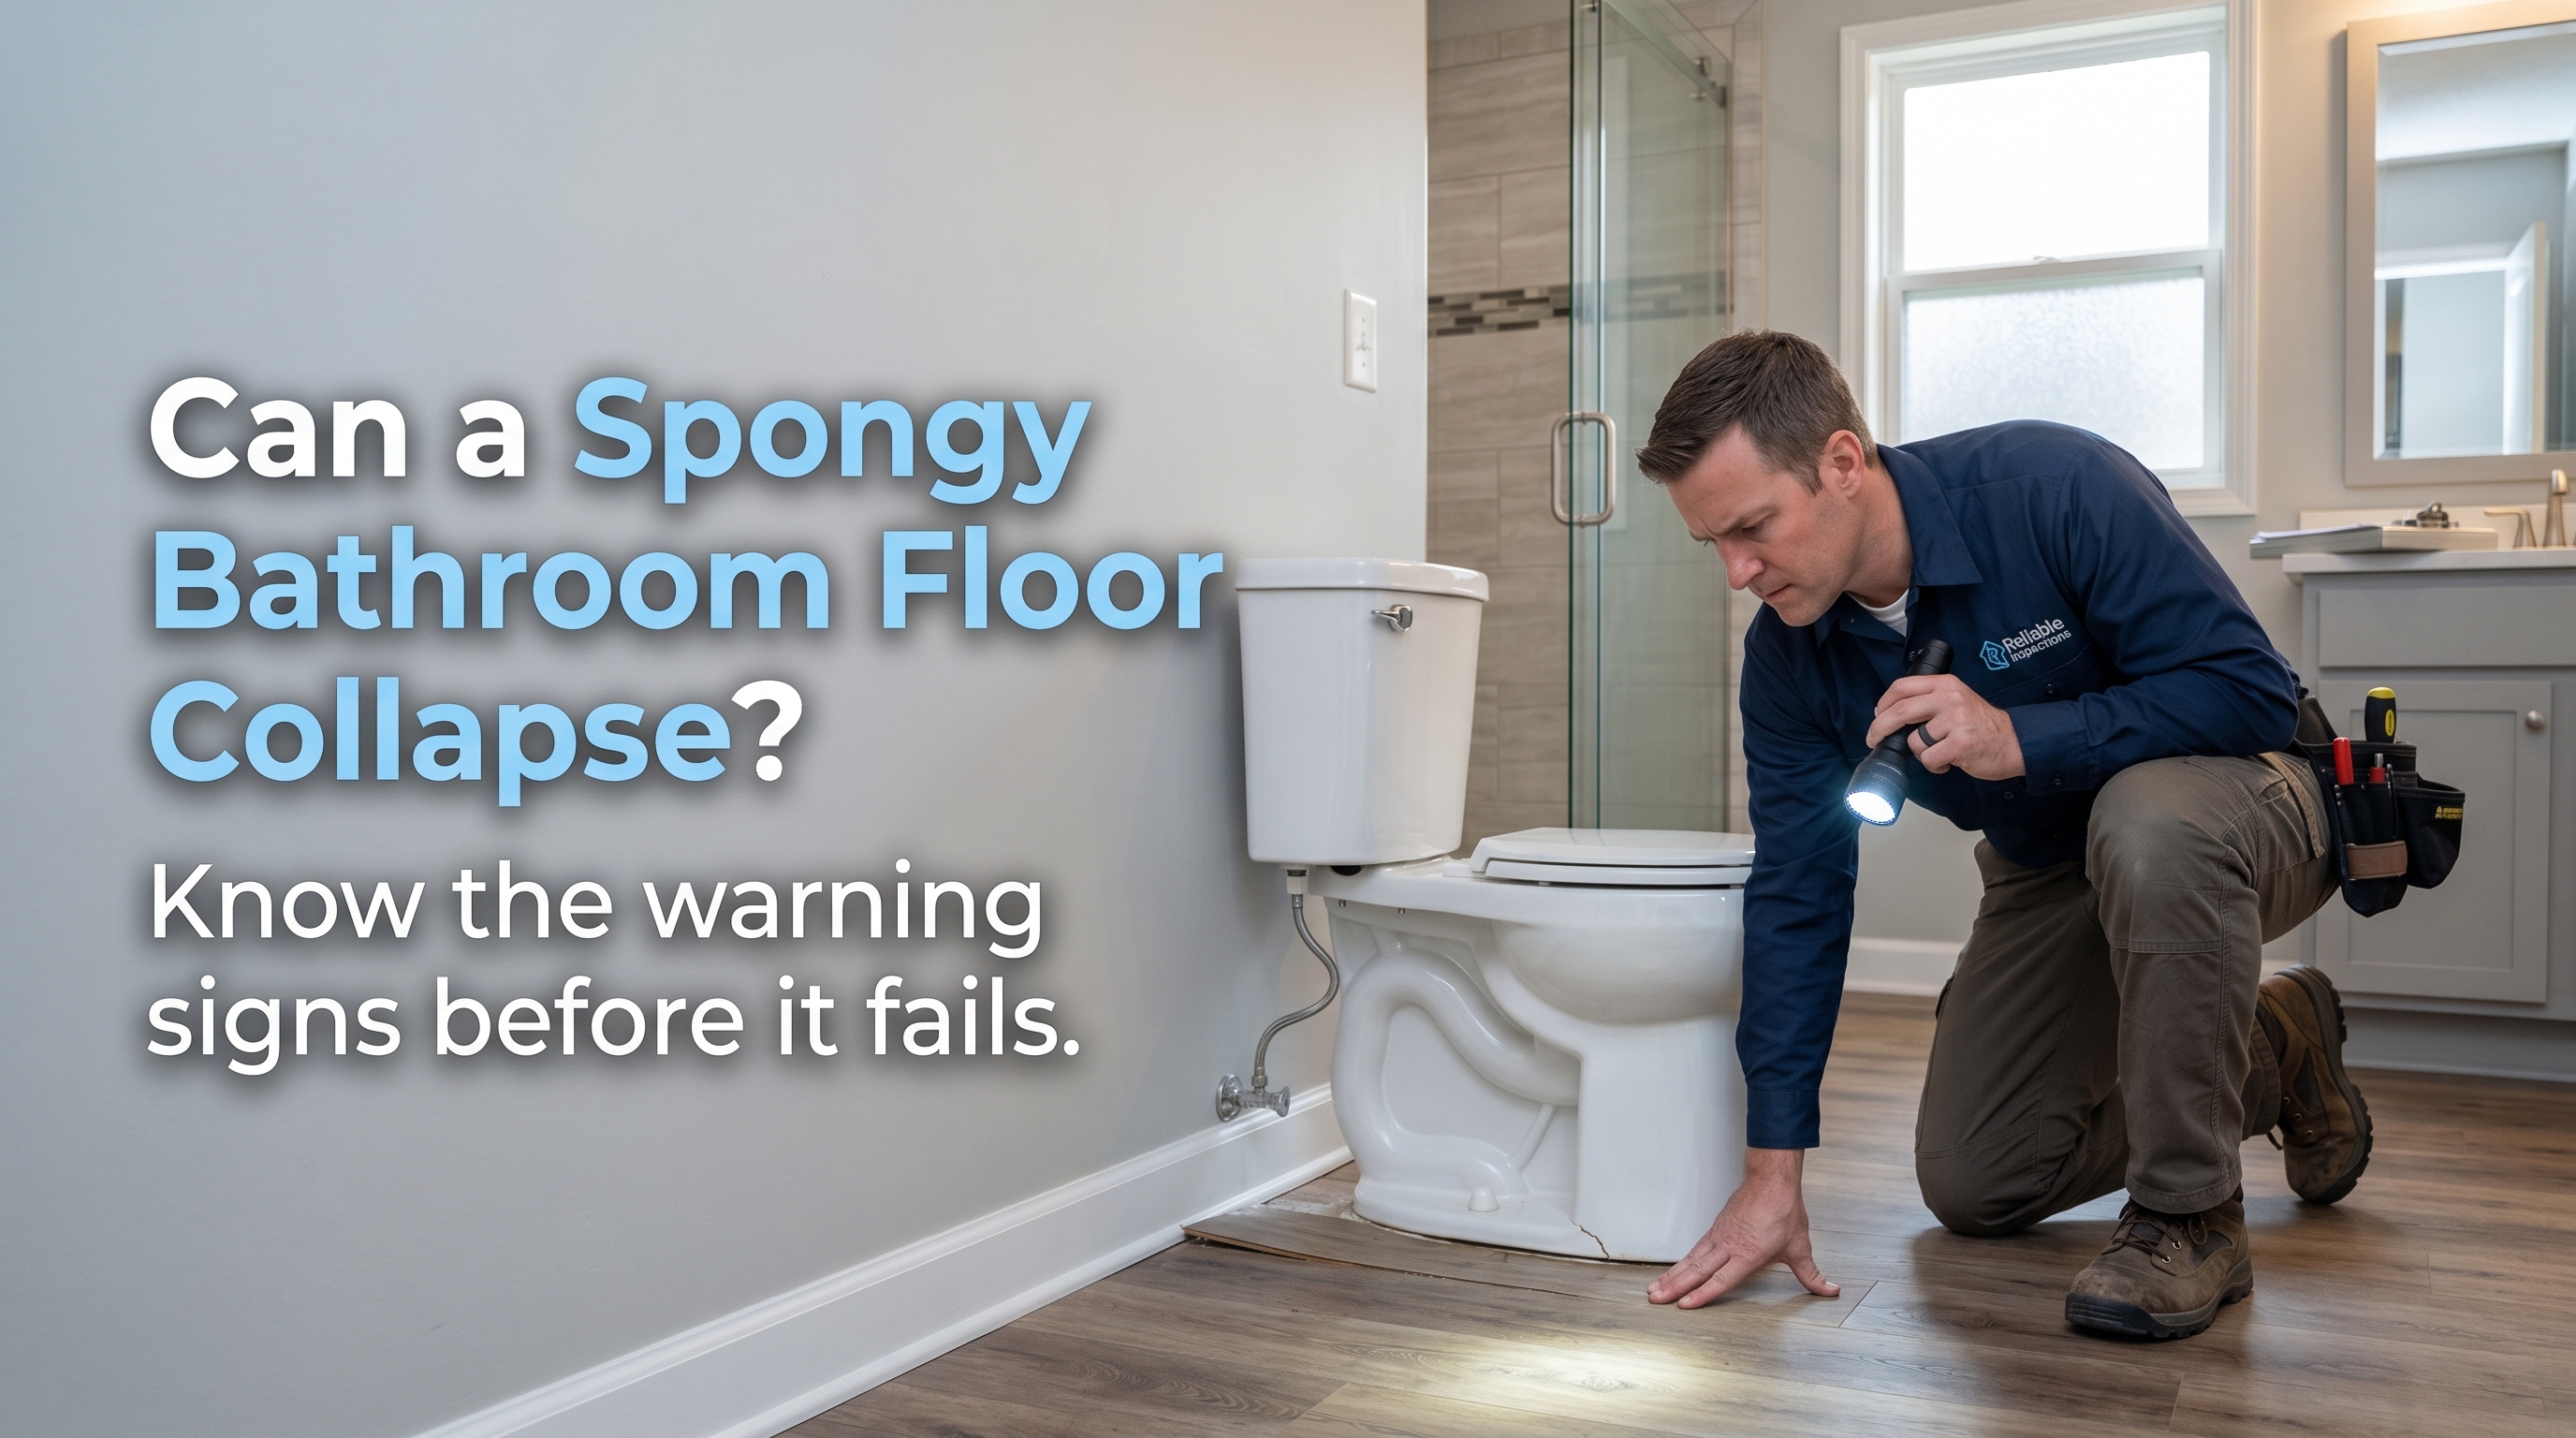
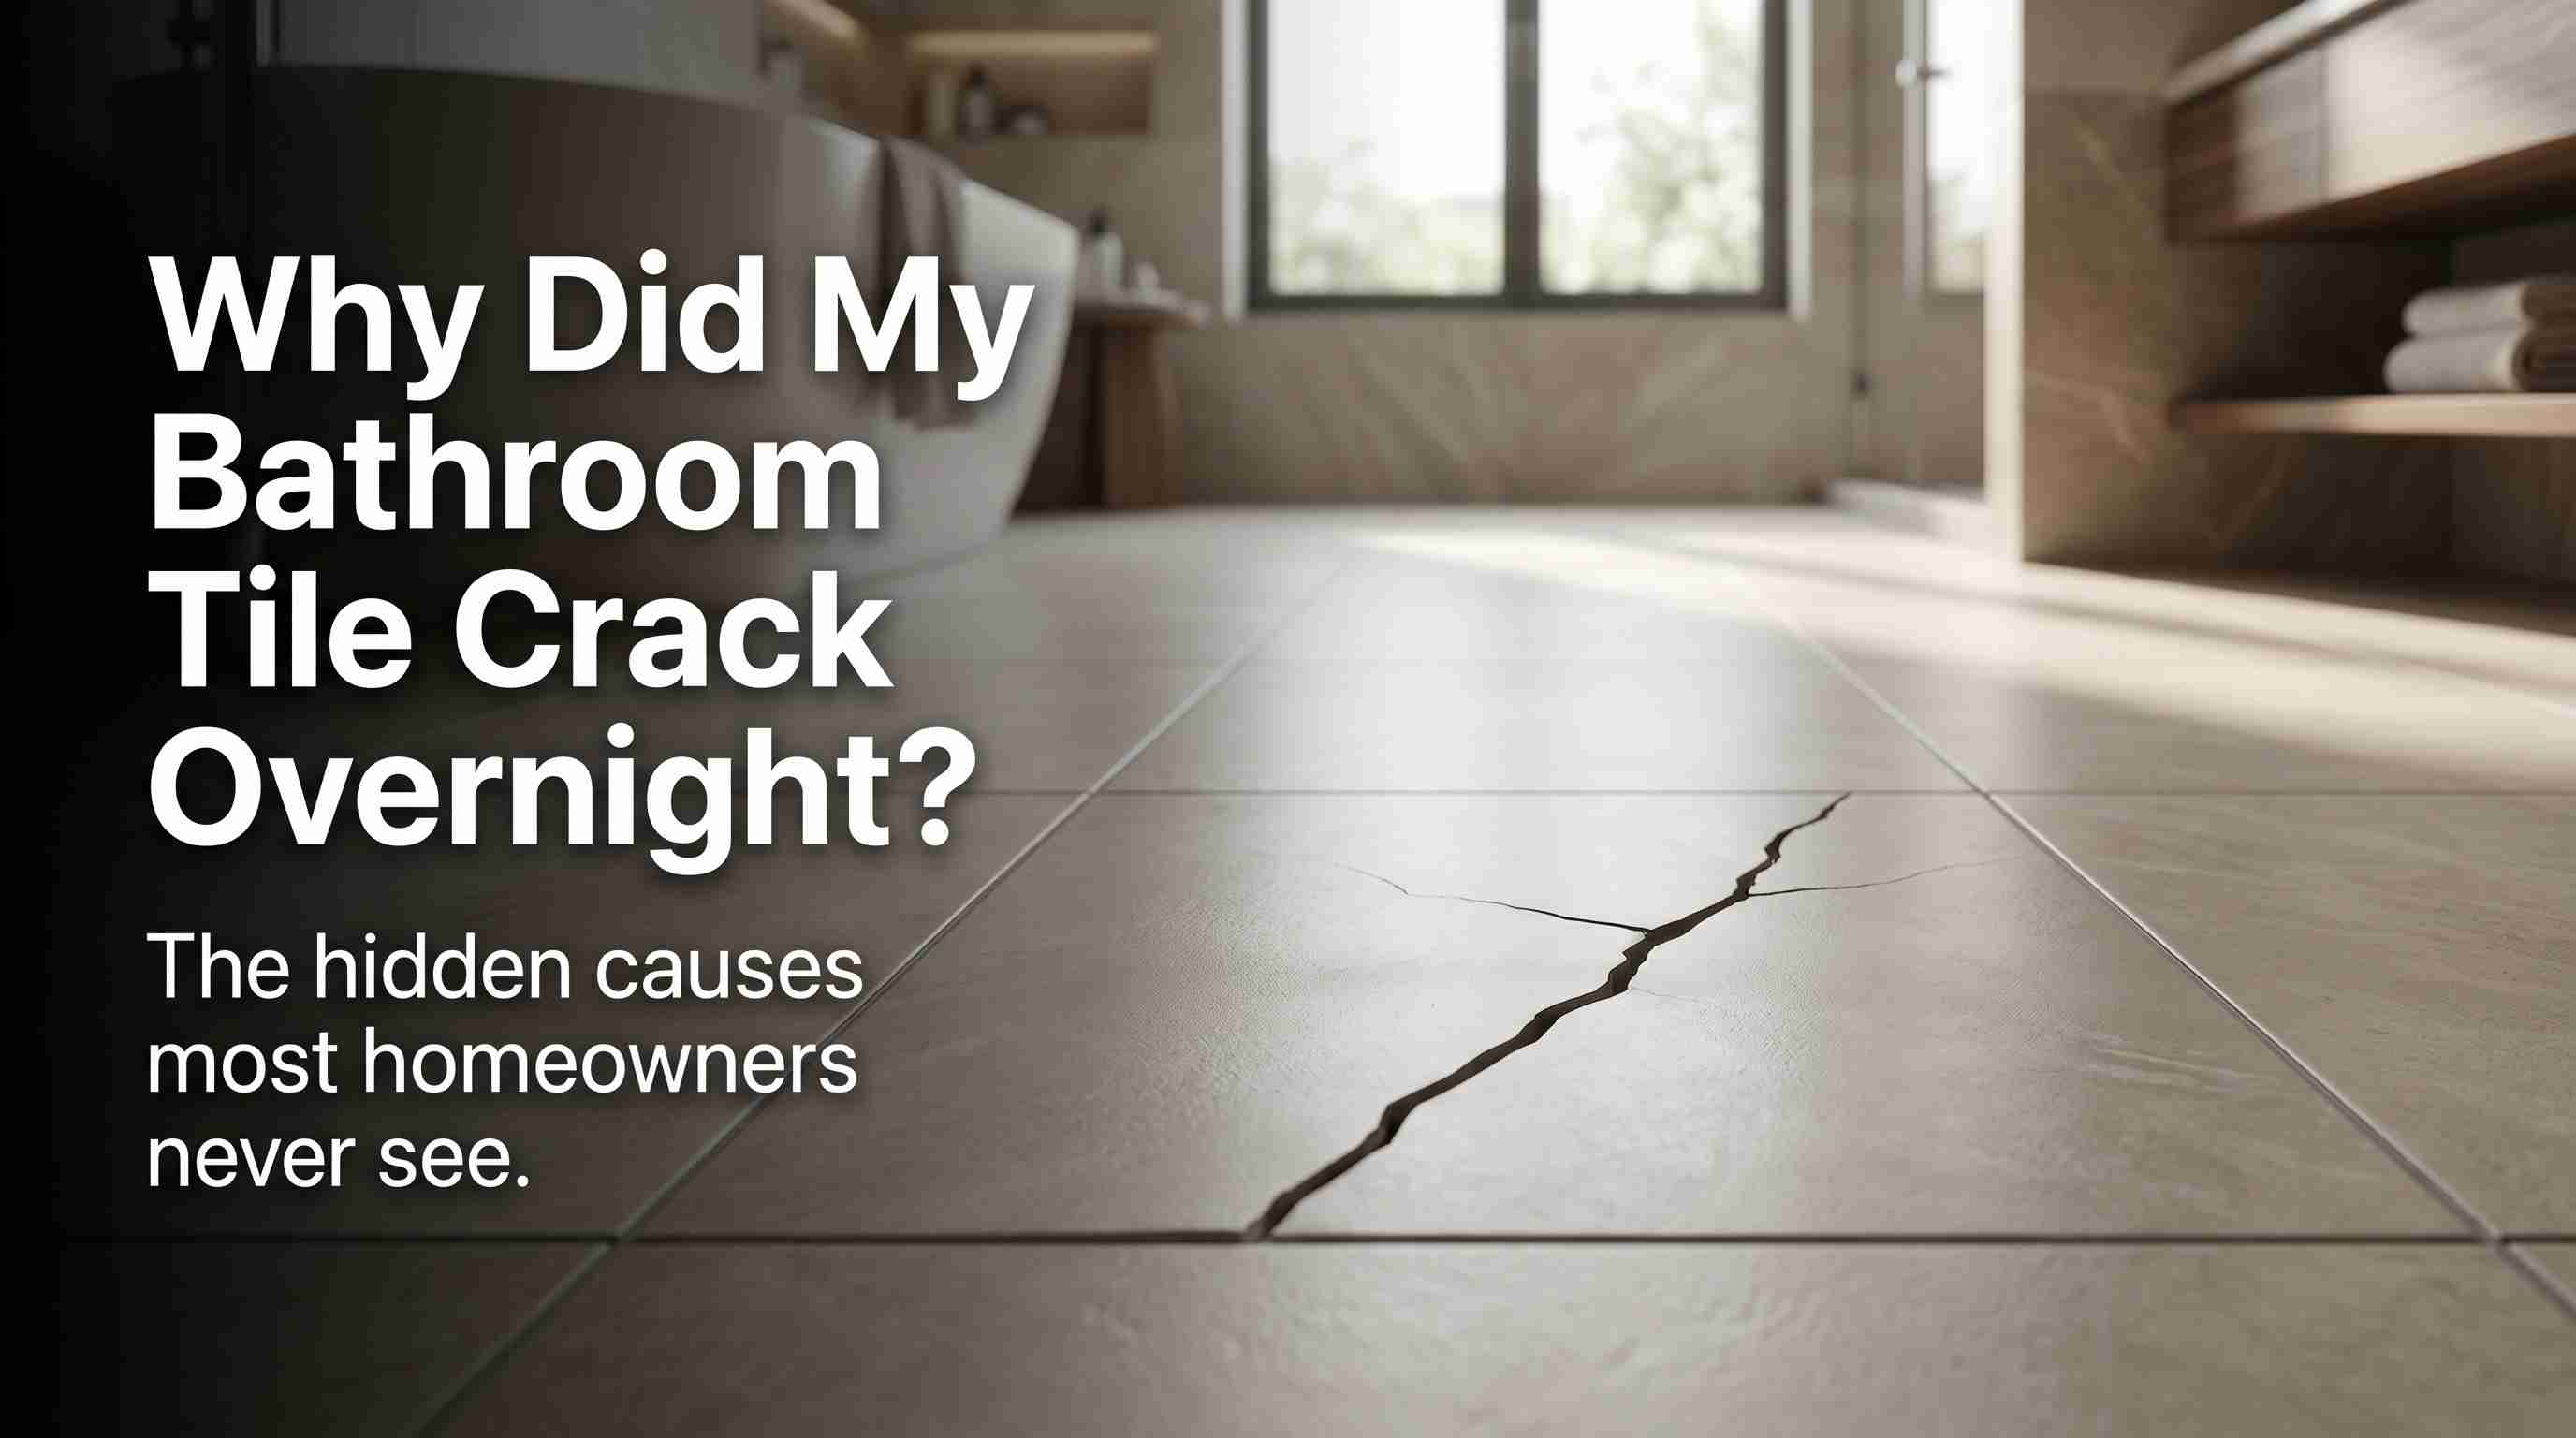
Waterproofing is where bathroom renovations silently fail. Water getting behind tile into framing can stay hidden for months before it surfaces as loose tile, soft floors, musty odour, or structural damage. By the time it's visible, the remediation cost typically exceeds the entire original renovation budget.
If you're doing shower tile yourself:
Use a sheet membrane system (Schluter Kerdi or equivalent)
Apply to shower walls and shower floor before any tile
Seal all transitions corners, niche edges, shower floor-to-wall joints
Let the membrane cure fully before tiling don't rush this step
Confirm shower floor slope: water must drain toward the drain; no flat zones
If you're not confident doing this correctly, hire it out. The tile installation itself is manageable DIY. The waterproofing underneath it is where the expensive mistakes happen.
Before tiling: install blocking (2×4 lumber between studs) everywhere you plan to mount towel bars, grab bars, or accessories. This cannot be retrofitted after the tile is in.
Step 8: Tile, Fixtures, and Finishes
With waterproofing complete and cured:
Tile sequence:
Floor tile first, then wall tile
Apply tile before vanity and toilet are set
Grout after tile is fully set
Caulk movement joints (inside shower corners, floor-to-wall transitions) these should not be grouted
Fixtures:
Vanity and countertop
Shower glass or enclosure
Toilet (measure rough-in before ordering standard is 12", older homes often 10")
Accessories into pre-installed blocking
Paint last. Always. Painting before fixtures and tile are finished guarantees touch-ups or a full repaint.
Step 9: Final Walkthrough Before You Sign Off
Before paying final invoices:
Run all faucets and check every connection for leaks
Flush toilet and confirm it seats properly
Run shower at full pressure for 10 minutes and inspect all tile joints
Test exhaust fan by holding tissue near vent should draw inward; confirm it vents outside, not into attic
Press test button on every GFCI outlet
Check all drawers, doors, and hardware for alignment
Caulk is clean and continuous at all movement joints
The 5 Mistakes That Cause Most DIY Bathroom Disasters
Every experienced contractor has seen the same failures repeatedly:
Starting demo before materials arrive: supply chains don't care about your timeline; never open walls until tile, vanity, and toilet are in your possession
Skipping or rushing waterproofing: the most expensive single mistake in bathroom renovation
Venting exhaust fan into attic: sends moisture into the home's structure; must vent to outside
Ordering toilet without measuring rough-in: standard is 12", many older homes are 10"; standard toilet won't fit in a 10" rough-in
Installing accessories into drywall without blocking: towel bars pull out within months; blocking must go in before tile
Frequently Asked Questions
Can I renovate a bathroom myself with no experience?
Yes, for cosmetic updates painting, hardware replacement, prefab vanity installation, and toilet swaps at the same location. A full gut renovation without relevant experience in tile, plumbing, and electrical creates serious risk of code violations, water damage from failed waterproofing, and a project that stalls unfinished. Start with a cosmetic refresh to build skills, then attempt larger phases.
What can I DIY in a bathroom remodel to save money?
Demolition, painting, hardware replacement, prefab vanity installation, cabinet refinishing, caulking, and toilet replacement (same location) are all safe DIY tasks. These together can represent 15–25% of total project labor. Waterproofing, plumbing relocation, electrical, and exhaust fan installation should go to licensed professionals.
How long does a DIY bathroom renovation take?
A cosmetic refresh takes 1–2 weekends. A mid-range renovation (new tile, vanity, fixtures, no layout changes) takes 3–4 weeks working evenings and weekends. A full gut renovation with layout changes can run 8–12 weeks part-time. Factor in permit processing (2–6 weeks) and material lead times (6–12 weeks for custom items) before deciding when to start demolition.
How much can I save by doing my own bathroom renovation?
On a successful project, 20–30% compared to full-hire. Cosmetic-only work saves more (25–30%) because labor represents a higher share. Full renovations save less (15–20%) because more tasks require licensed contractors regardless. The caveat: failed DIY that requires professional rescue costs 20–30% more than hiring from the beginning.
Do I need a permit for a DIY bathroom renovation?
For cosmetic work (paint, tile over existing surfaces, like-for-like fixture swaps) generally no. For any plumbing relocation, electrical changes, structural work, or ventilation changes yes, in almost every jurisdiction. Call your local building department before starting. Unpermitted work discovered at sale can halt the transaction.
Conclusion
A fully DIY bathroom renovation is achievable for experienced homeowners doing cosmetic or same-layout work. A hybrid approach doing demolition, painting, vanity installation, and hardware yourself while hiring licensed trades for plumbing, electrical, and waterproofing saves $4,000–$6,000 on a typical project while avoiding the code violations and water damage that account for the majority of DIY renovation disasters.
The mistake isn't choosing to DIY. The mistake is assuming that cost savings from skipping licensed work will hold if something goes wrong and with plumbing, electrical, and waterproofing, something going wrong is not rare. It's common enough that every contractor has stories. Decide before you start which tasks are yours and which aren't. Order materials before bathroom demolition. Waterproof before tiling. Paint last. Test everything before paying final invoices.