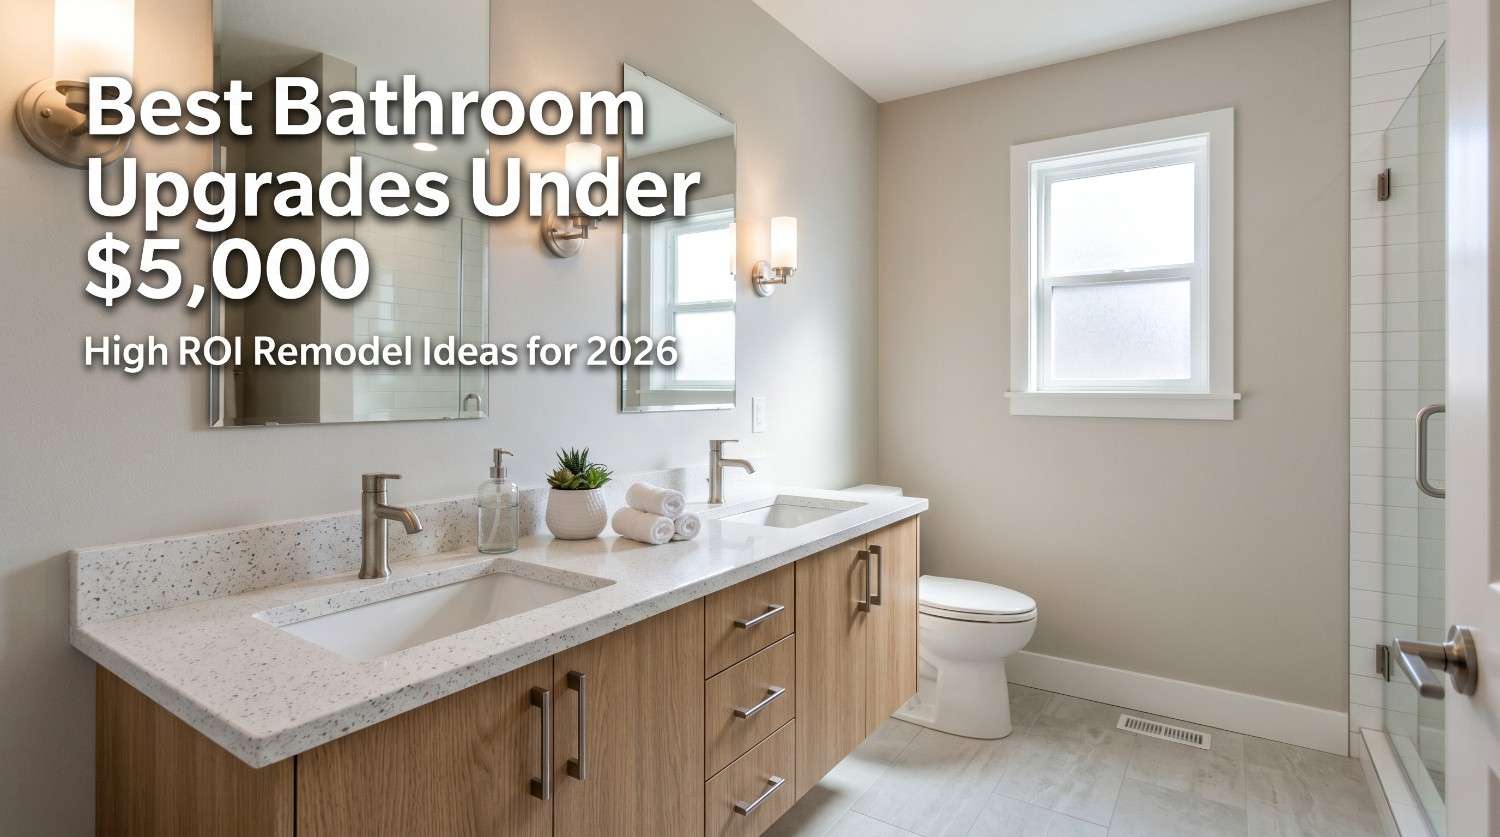
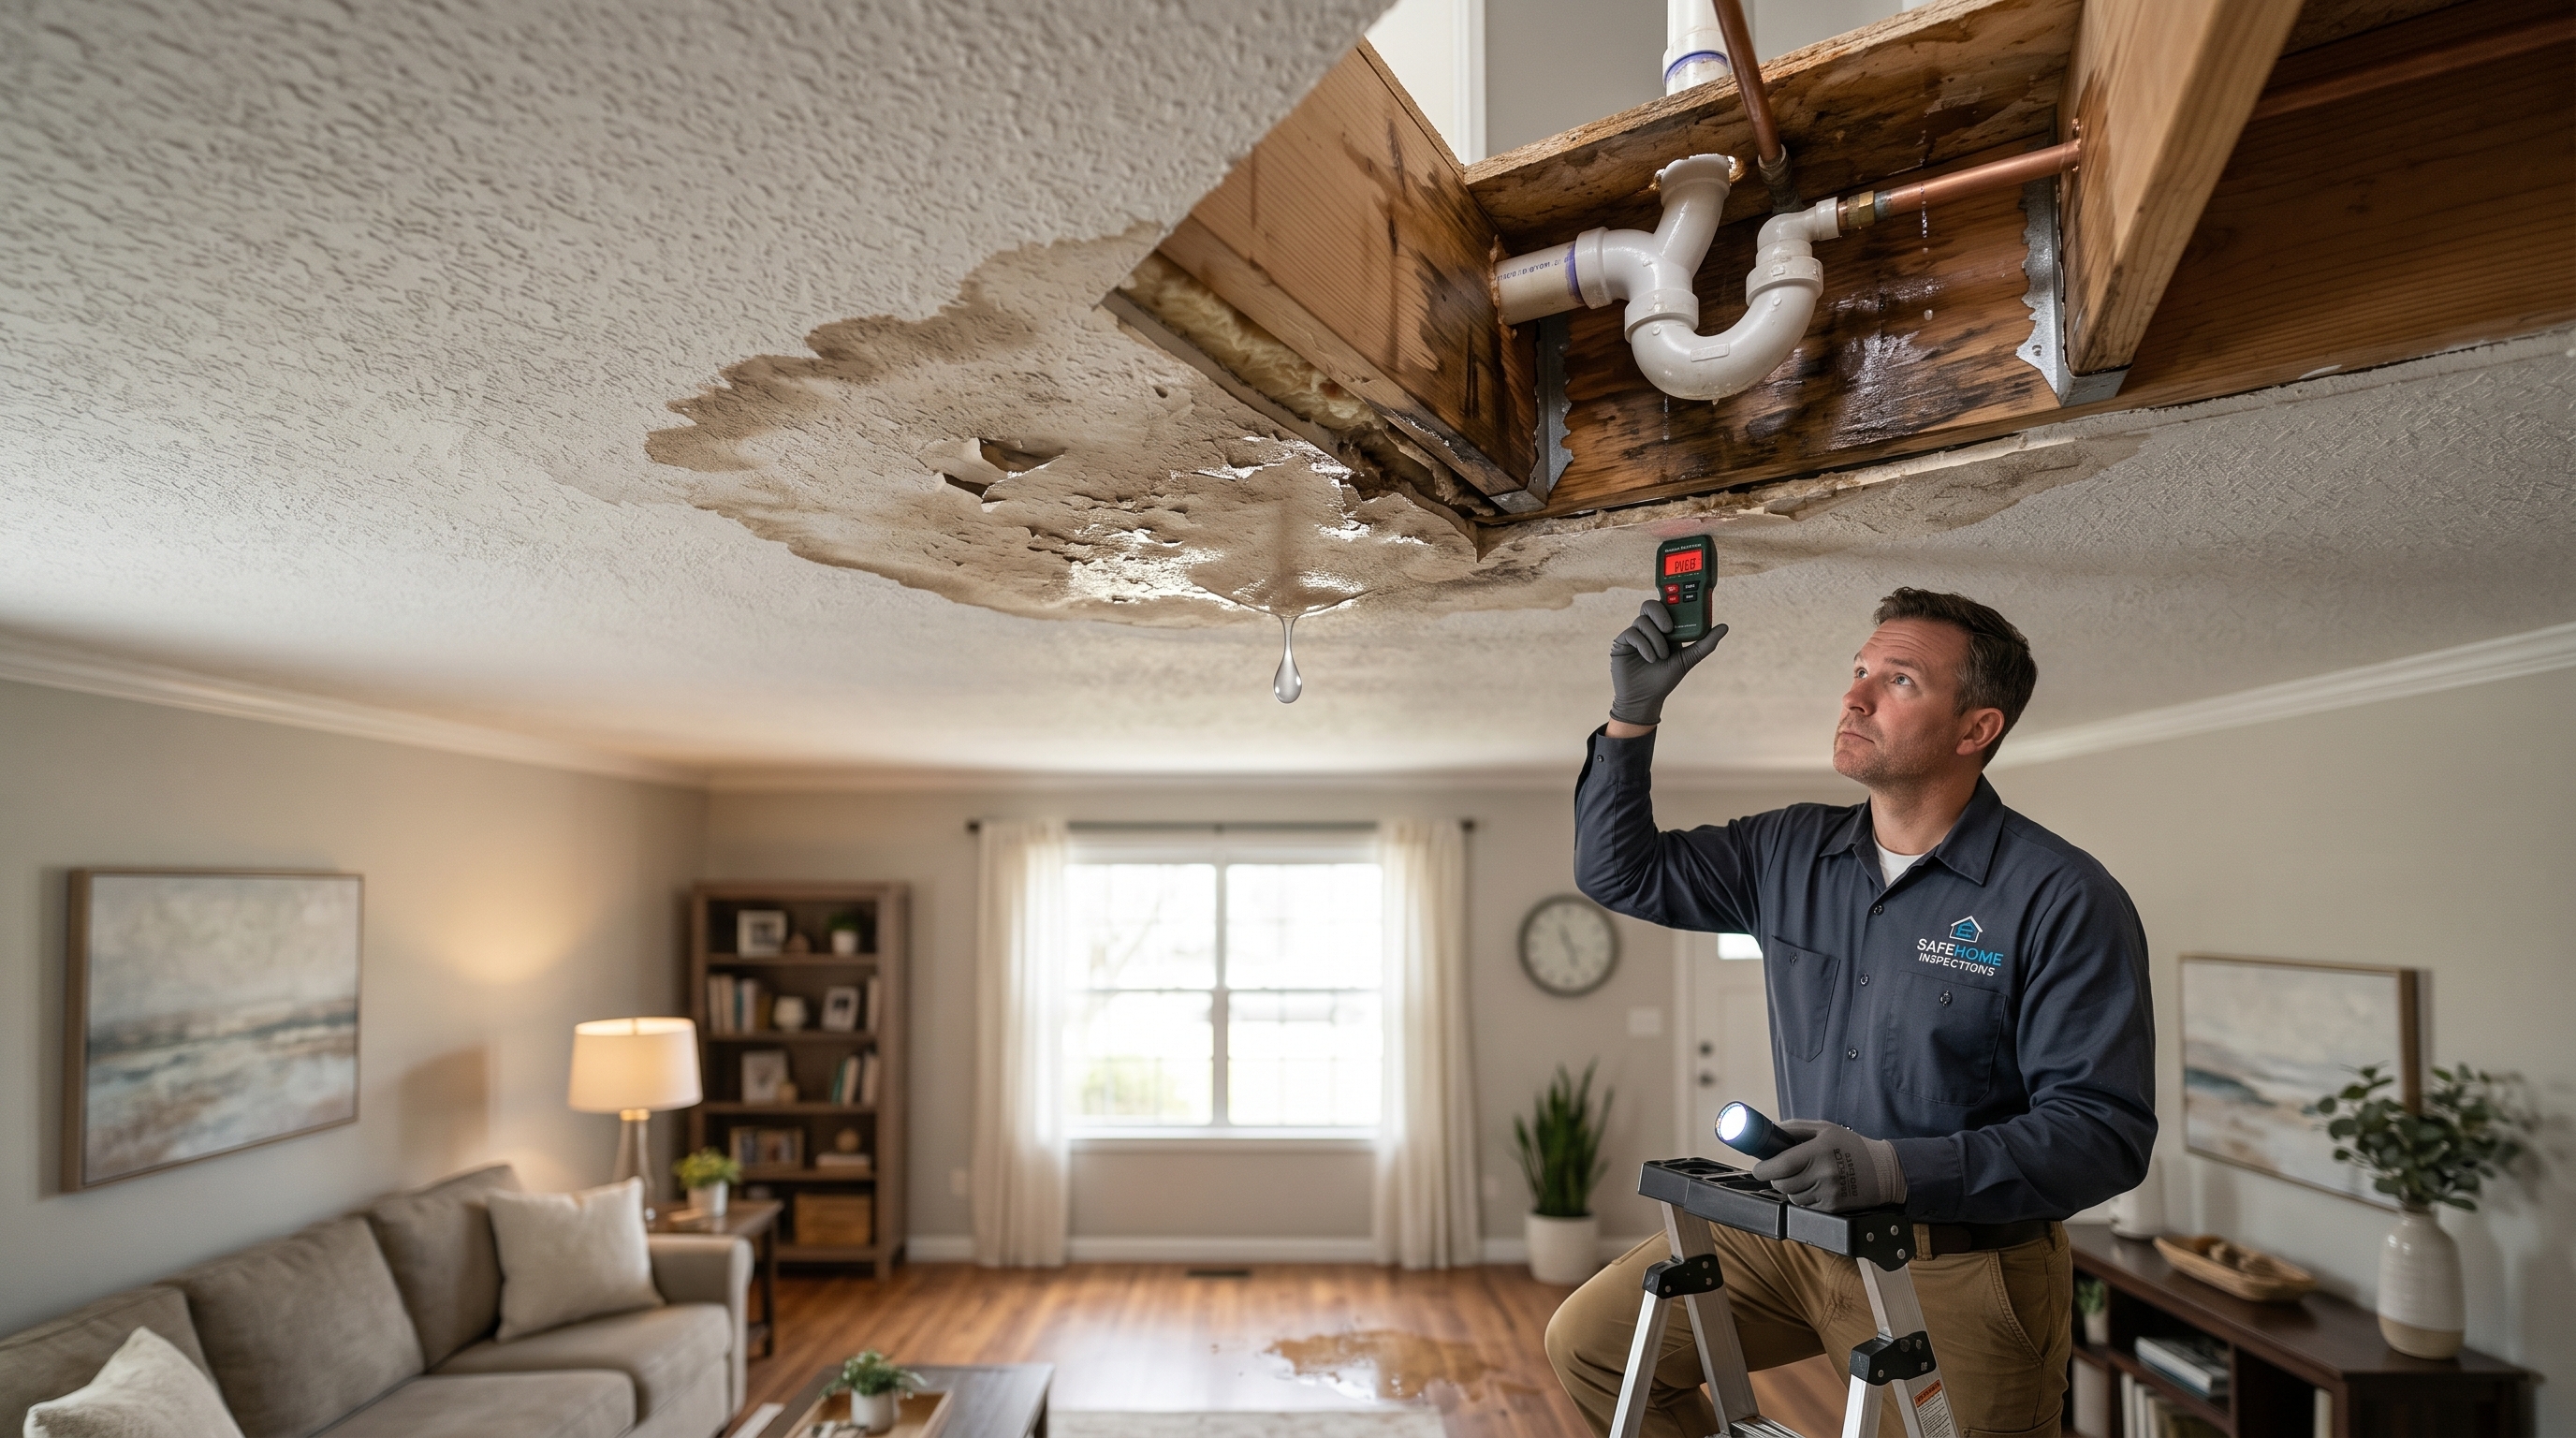
Bathroom renovations go wrong in predictable ways. The budget blew out not because someone chose an expensive tile, but because they started the demo before the vanity arrived and the contractor charged daily rates to wait. The shower leaked not because anyone cut corners on tile, but because blocking wasn't added before tiling started. The toilet didn't fit because nobody measured the rough-in.
This checklist follows the phases in the order they actually need to happen not just what to do, but why the sequence matters.
Phase 1: Set the Budget Before You Look at Anything
The most common planning mistake is browsing tile and vanities before knowing what the project actually costs. By the time you've fallen in love with something, anchoring to a budget feels like deprivation.
Start with the numbers:
A mid-range bathroom remodel runs $20,000–$40,000 nationally, including fixtures, tile, and contractor labor (Foley Construction, 2025)
A minor cosmetic refresh (paint, fixtures, lighting, vanity) stays under $8,000
High-end renovations with custom materials and layout changes run $40,000–$60,000+
How the budget typically breaks down:
Fixtures and materials: 40–50%
Labor (contractor, plumber, electrician, tile installer): 20–35%
Permits and inspection fees: 5–10%
Contingency fund: 10–20%
The contingency is the one item most homeowners skip and later regret. Hidden water damage, outdated wiring, and subfloor rot are common once walls open. Budget 15–20% above your target number before any work begins.
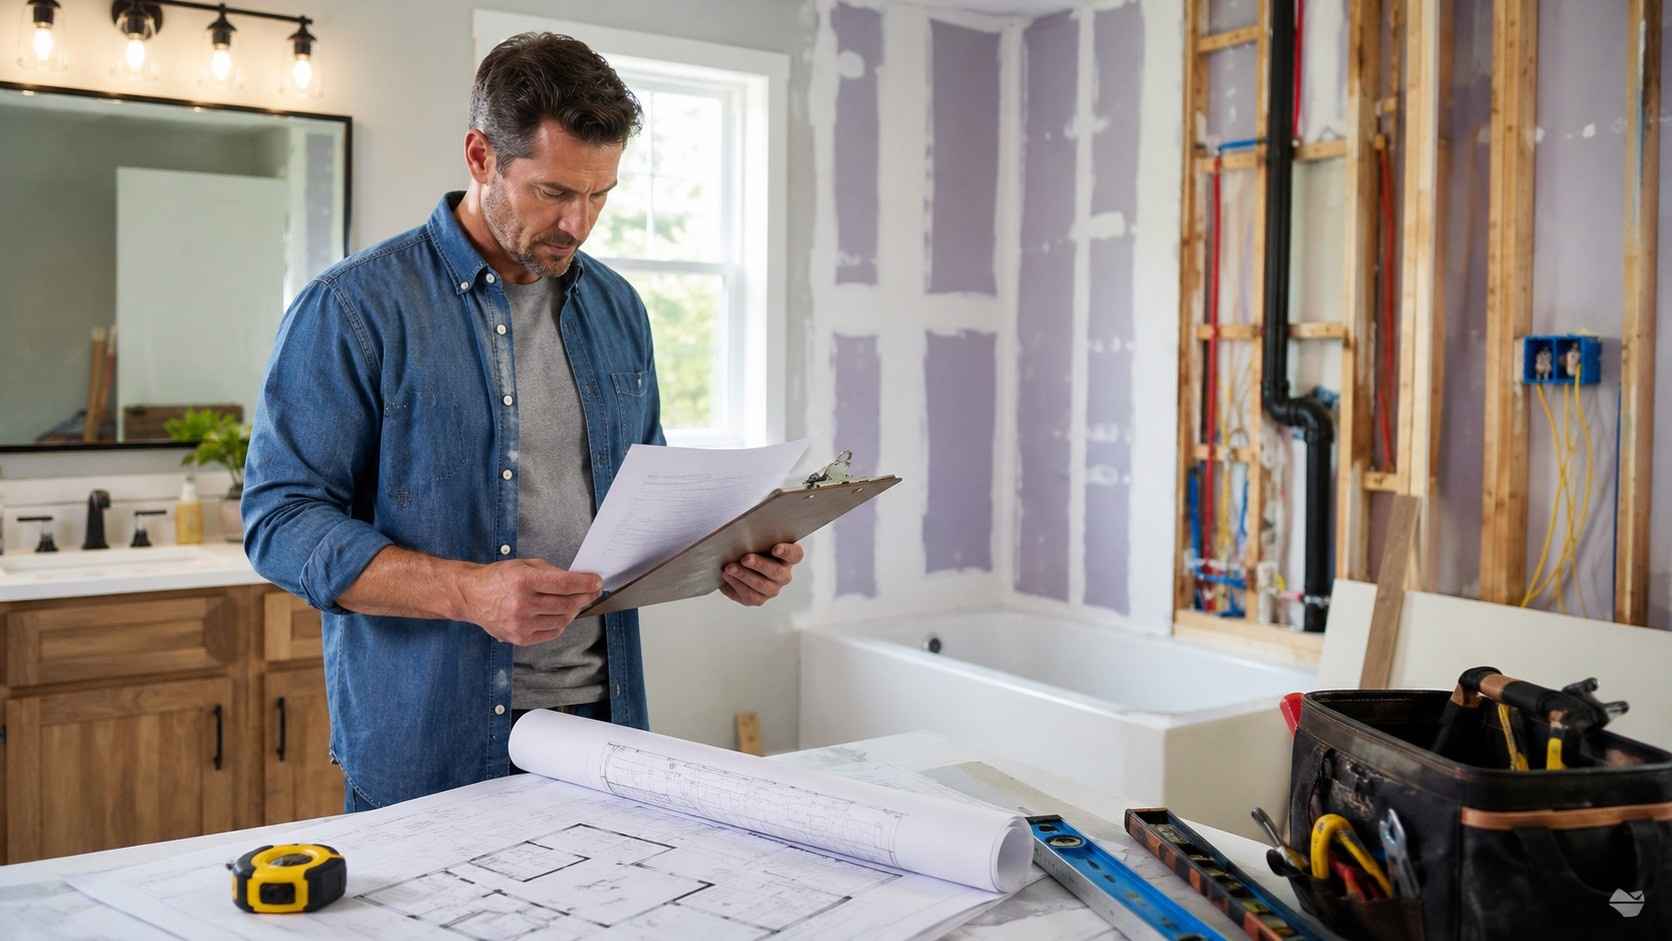
Phase 2: Assess the Existing Space Honestly
Before any design decisions, walk the bathroom with a critical eye and a tape measure.
Document everything:
Photograph all four walls, the ceiling, and the floor
Record plumbing penetration locations and vanity width
Note the rough-in measurement for the toilet (distance from the wall to the floor bolts standard is 12 inches, but older homes often run 10 inches a toilet ordered without this measurement may not fit)
Identify what's actually causing problems, not just what looks dated
Ask the functional questions:
Can two people use the space comfortably on a busy morning?
Is the toilet visible from the hallway?
Does the door swing into a fixture?
Is storage genuinely inadequate, or just disorganised?
This assessment shapes the entire design plan and prevents fixing the wrong problems.
Phase 3: Lock In the Design and Layout
Design decisions made late in a renovation cost money. Every change after materials are ordered risks restocking fees, delays, and contractor idle time.
Layout decisions first:
Decide whether the layout stays or changes moving plumbing adds $2,000–$5,000 to the project and extends the timeline by weeks
Plan for dual sinks at least 36 inches apart (drain to drain) if the space allows
Confirm the shower footprint before ordering tile
Plan where accessories will go towel bars, toilet paper holder, grab bars because blocking must be installed before tile goes up (one of the most common sequencing mistakes in DIY renovations)
Design decisions second:
Establish a style direction before ordering anything (modern, transitional, spa-style)
Choose a dominant material (tile, stone look, large-format porcelain) and coordinate everything else around it
Select a single finish metal and stay with it across faucets, hardware, shower trim, and accessories mixed metals work, but require planning, not accident
Create a full materials list before ordering anything. Include tile quantities with 10% overage for cuts, grout colour, caulk, vanity, countertop, sink, faucet, toilet, shower system, lighting, mirror, exhaust fan, and accessories. Leaving anything off this list creates a mid-project scramble.
Phase 4: Research and Hire the Contractor
The contractor decision is where more renovations succeed or fail than at any other stage.
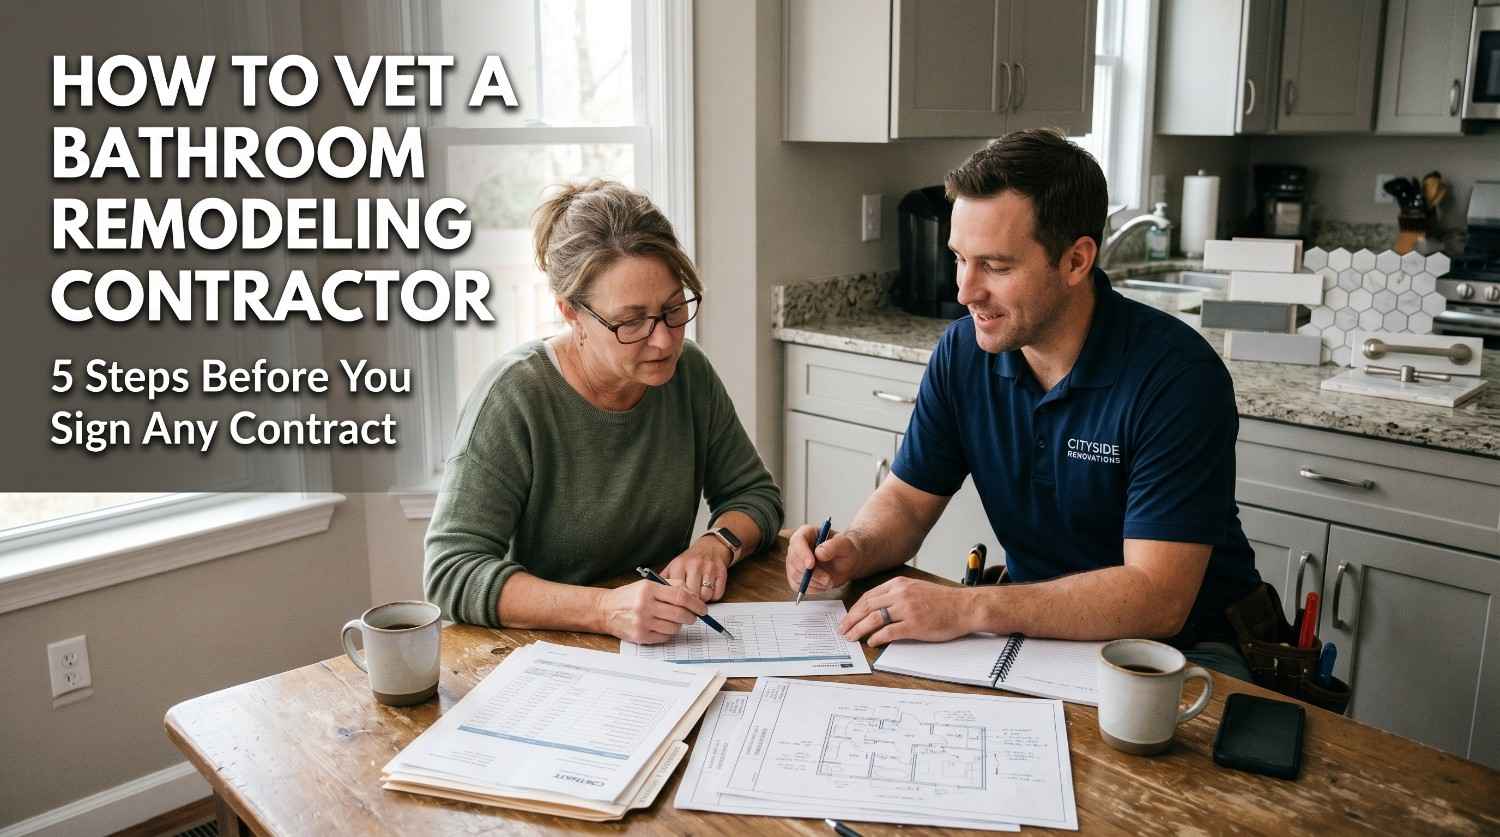
What to do before hiring:
Get written quotes from at least three licensed contractors
Verify current license and insurance status don't take their word for it
Check references from projects of similar scope completed in the last 12 months
Ask specifically how they handle unexpected issues found behind walls their answer tells you more about how the project will go than anything else
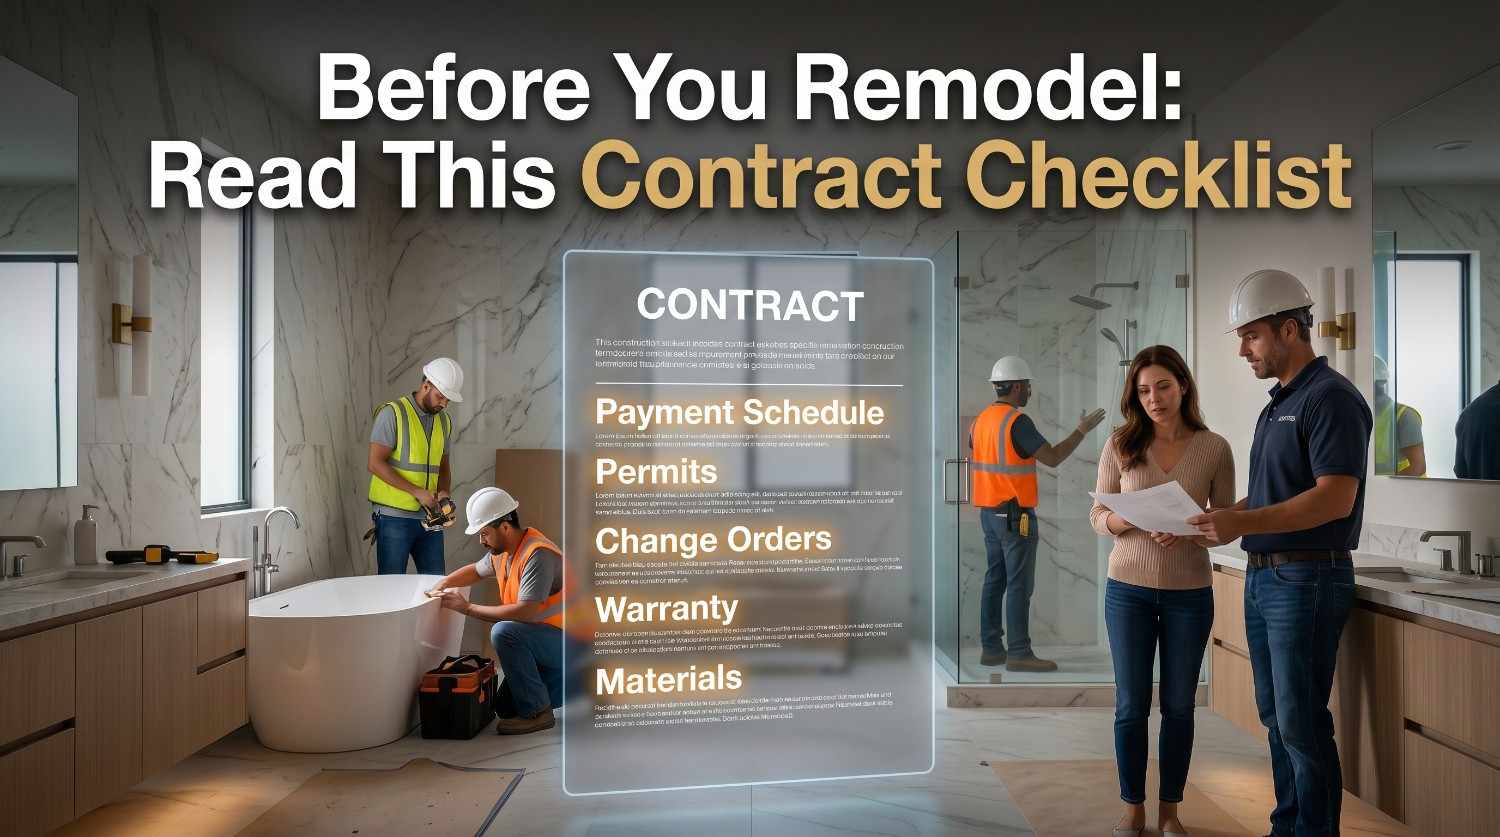
What the contract should include:
Detailed scope of work
Payment schedule tied to phase completion, not calendar dates
Clear process for change orders every scope change should be written and priced before work continues
Timeline with specific milestones
DIY vs professional the honest split:
Tasks a capable DIYer can handle: painting, hardware installation, medicine cabinet, accessories, basic tile replacement on an existing surface.
Tasks that require licensed professionals:
Any plumbing work beyond fixture swap-outs
Electrical wiring, panel work, GFCI outlets
Waterproofing membrane installation (the most common DIY failure a failed membrane surfaces months later under finished tile)
Phase 5: Permits and Materials in Parallel
This phase happens simultaneously, and the order within it matters.
Permits
Most jurisdictions require permits for:
Moving or adding plumbing supply or drain lines
Electrical changes beyond simple fixture replacements
Structural changes (removing walls, changing window size)
Adding or relocating ventilation ducting
Skipping permits creates real consequences unpermitted work can halt a sale, void your homeowner's insurance for related claims, and require demolition to correct. The building department in your municipality will tell you exactly what your project requires. Most experienced contractors pull permits as part of their standard process.
Materials
Order everything before the demo starts. This is not optional advice. Supply chains are unpredictable. Custom tile runs 8–12 weeks. Vanities frequently run 6–8 weeks, particularly any imported product now subject to the October 2025 50% tariff. If the demo starts before materials arrive, your contractor bills daily rates while waiting and then moves to another project.
On-site before demo begins:
Vanity, countertop, and sink
Toilet
Shower system (valve, trim, showerhead, enclosure or glass)
Floor and wall tile (with 10% overage)
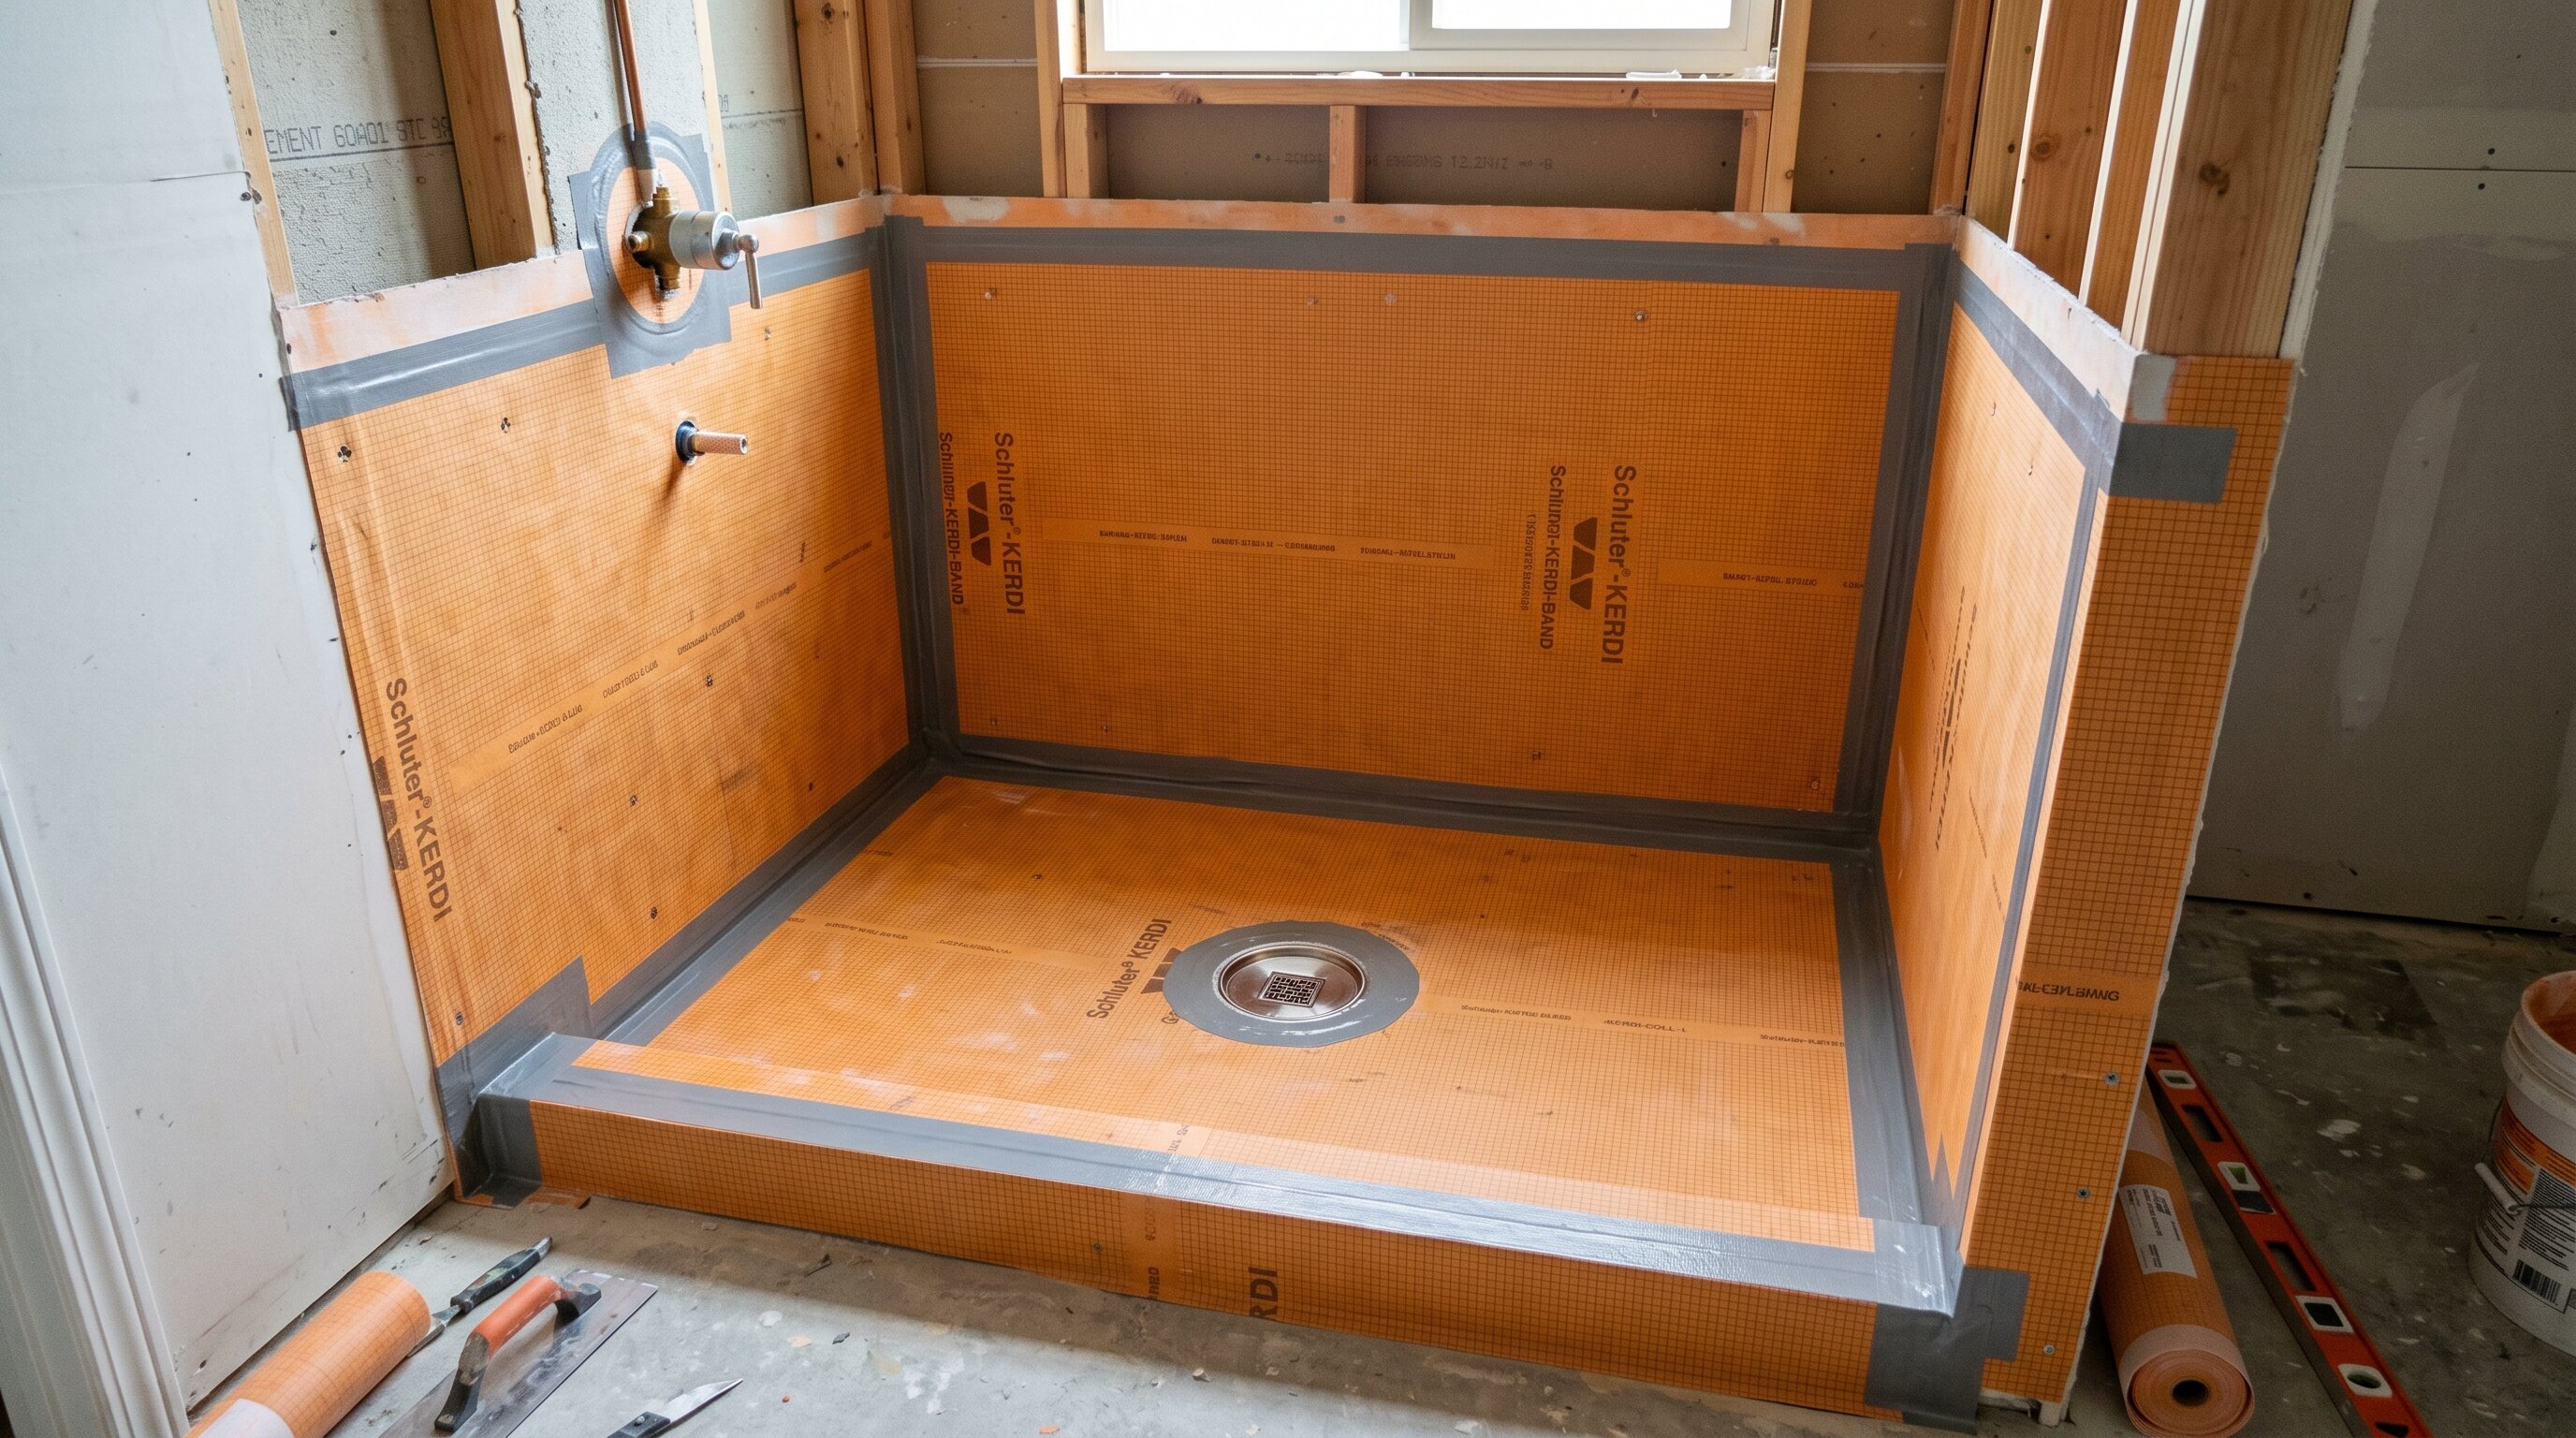
Waterproofing membrane (Schluter or equivalent)
Backer board and cement board for wet areas
Blocking lumber (2×4s) for grab bars and accessory installation
Can arrive mid-project:
Lighting fixtures
Mirror
Accessories (towel bars, toilet paper holder, hooks)
Paint
Phase 6: Construction in the Right Order
Sequencing is what separates a smooth renovation from one that requires rework. Work always moves from rough (behind the walls) to finish (what you see).
The correct order:
Dust containment and prep : seal doorways, protect flooring in adjoining rooms, shut off water at the supply valves
Demolition : remove fixtures, strip tile, open walls as needed
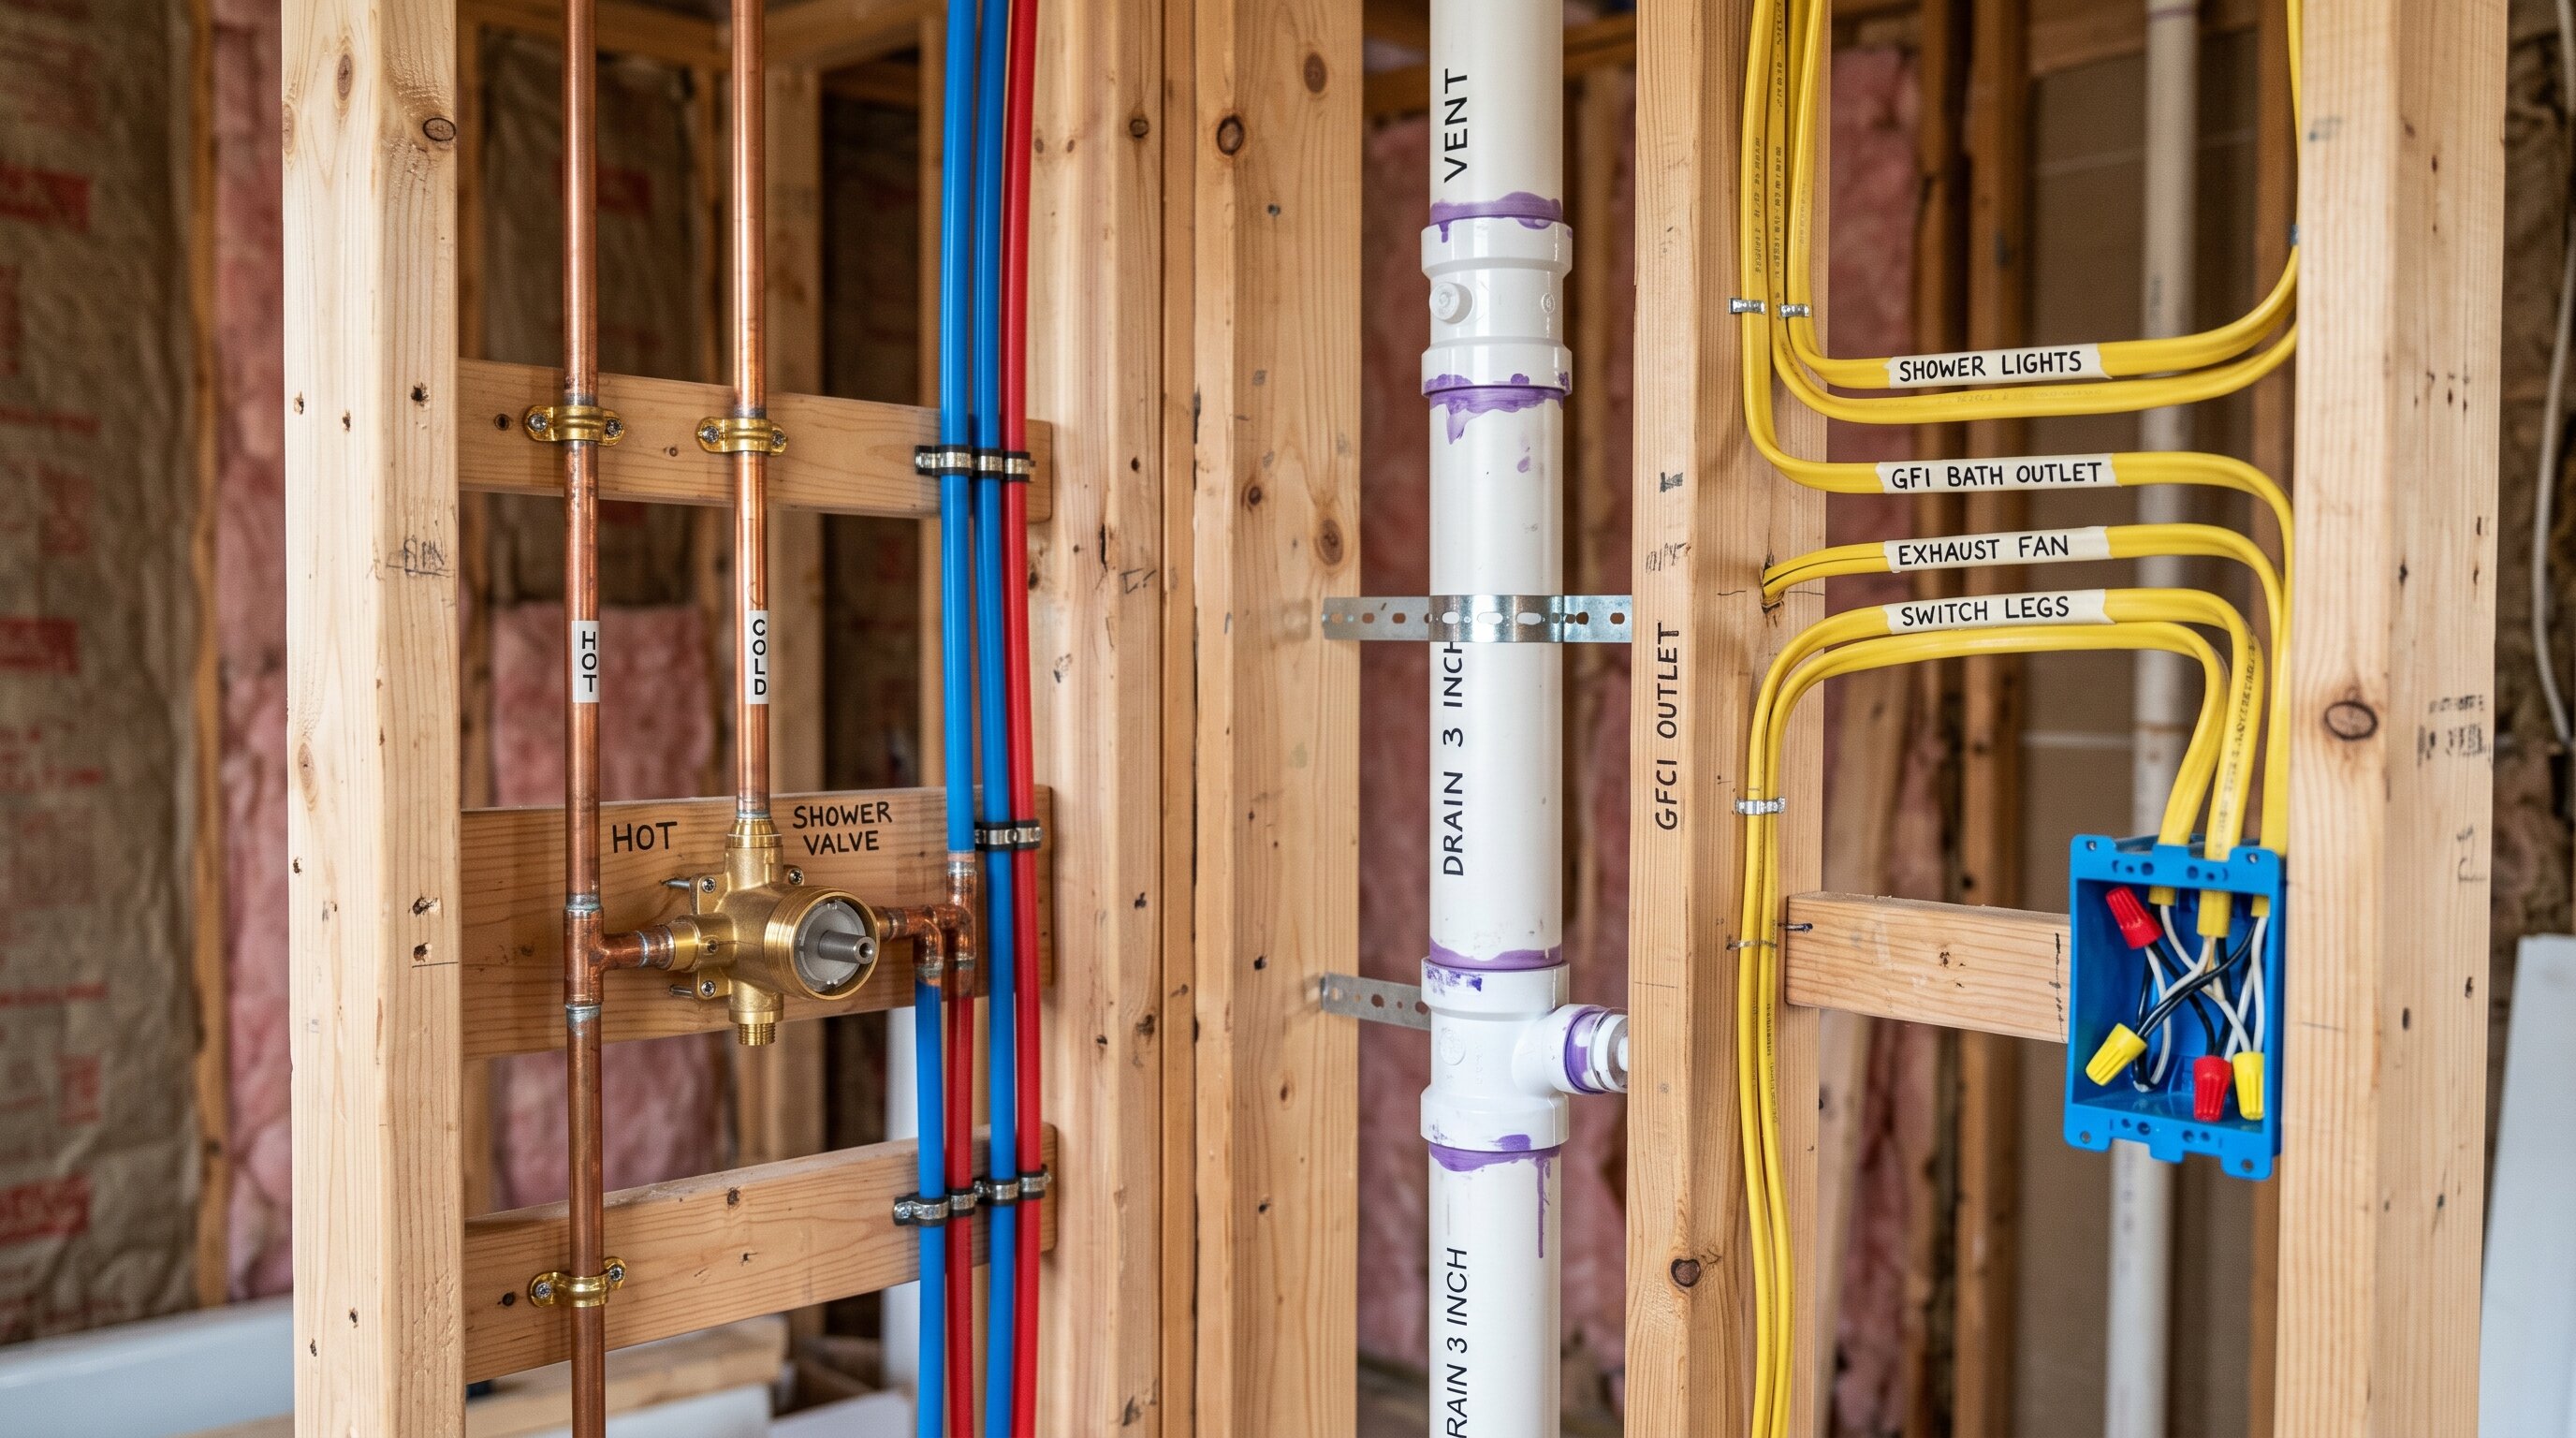
Rough plumbing : supply lines, drain relocation if needed, new valve positions
Rough electrical : new circuits, outlet placement, exhaust fan wiring, heated floor wiring if included
Inspection : if permits require it, this happens before walls close
Insulation : particularly on exterior walls; closed-cell foam on exterior bathroom walls prevents pipe freezing and moisture issues
Backer board and waterproofing : cement board in wet areas, waterproofing membrane on shower walls and shower floor before any tile
Tile floor first, then walls : floor tile goes before the toilet and vanity are set; wall tile in the shower installs after floor tile is complete
Finish plumbing : toilet, vanity sink connection, shower trim
Finish electrical : light fixtures, switches, GFCI outlets, exhaust fan
Vanity, countertop, mirror
Shower glass or enclosure
Accessories : towel bars, hooks, toilet paper holder (into pre-installed blocking)
Paint : after tile is grouted, after caulk is applied, after fixtures are in
Final cleaning and walkthrough
Phase 7: Final Walkthrough and Sign-Off
Don't make final payment before completing a thorough walkthrough with your contractor and checklist in hand.
Test every system:
Run all faucets and check for leaks at connections
Flush the toilet and verify it seats properly
Run the shower and confirm valve, showerhead, and handset all function
Check that the exhaust fan vents to the outside (not into the attic a common installation error)
Test all GFCI outlets by pressing the test button
Confirm all light fixtures work
Check that all drawers and cabinet doors open and close correctly
Inspect the finish work:
Grout lines are consistent and fully cured
Caulk at tub/shower, around the toilet base, and at countertop-to-wall joints is clean and continuous
No tile lippage (tiles at noticeably different heights)
No cracked tiles
Hardware is level and firmly anchored
Before signing off:
Collect all warranty documentation for fixtures, tile, and appliances
Get care instructions for any natural stone or specialty surface
Take photos of the completed space for insurance records
Common Sequencing Mistakes That Cause Real Problems
Most renovation disasters trace back to one of these:
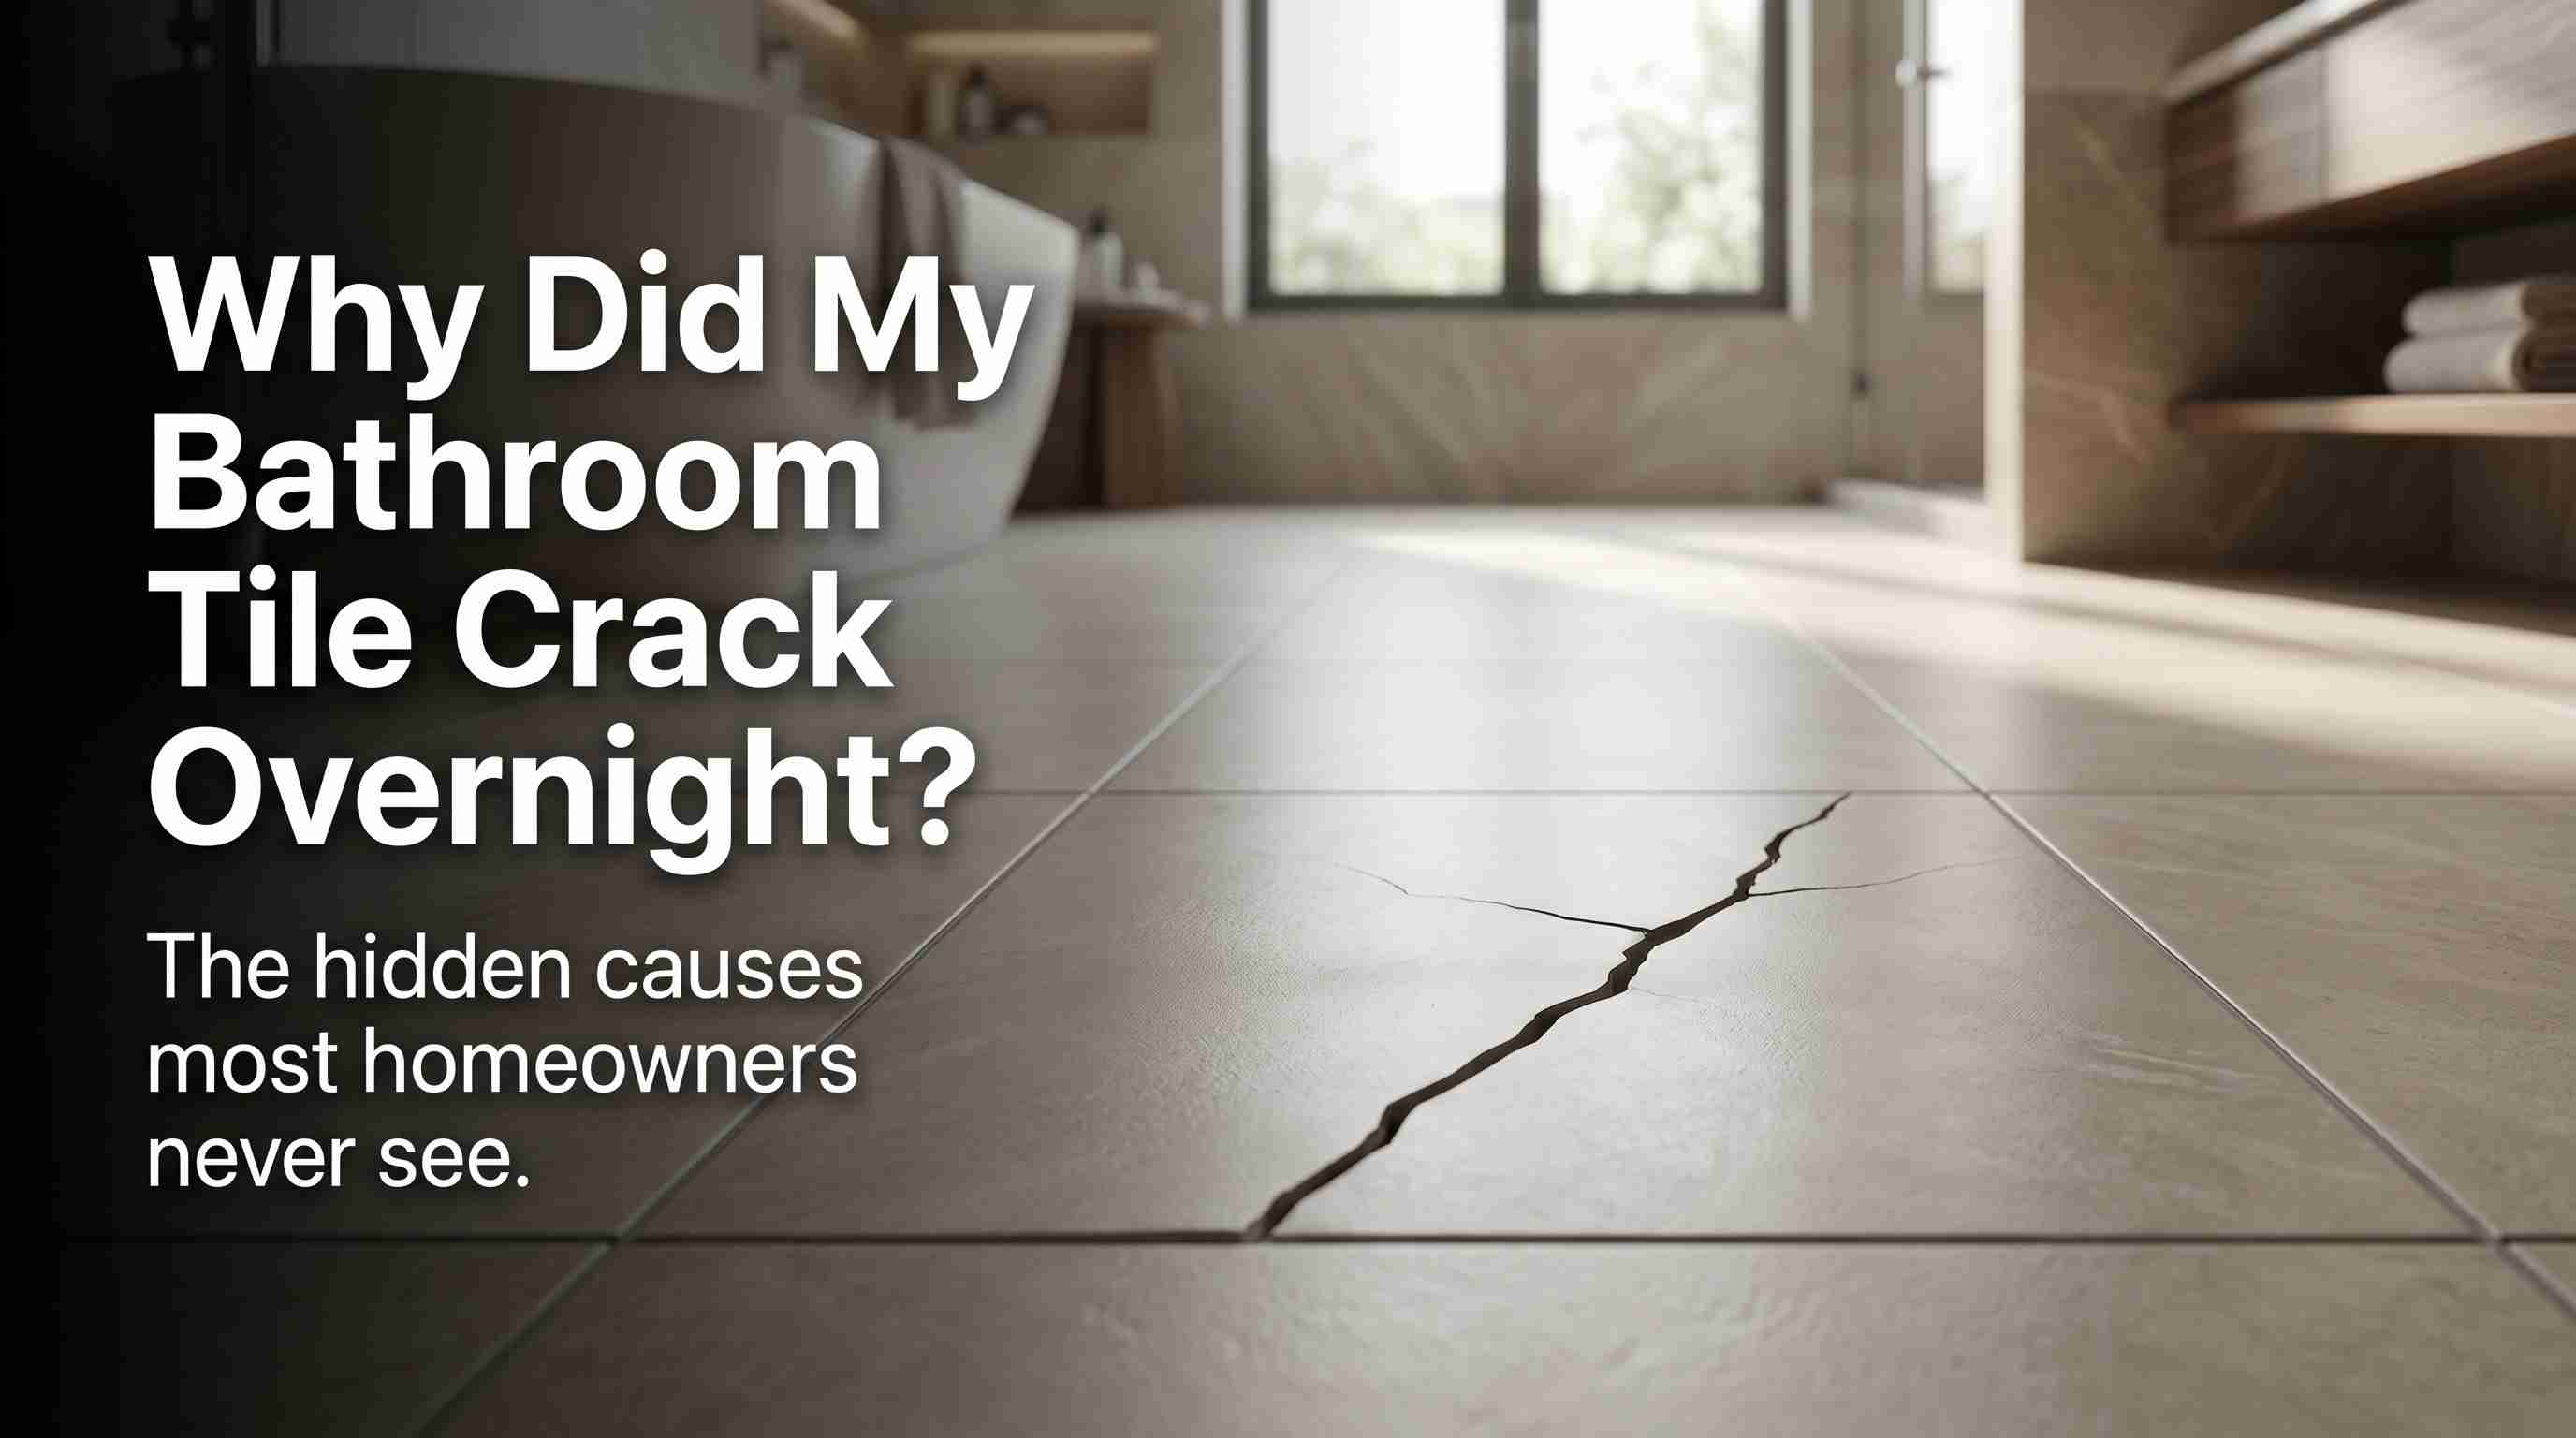
Ordering the toilet without measuring the rough-in. Standard is 12 inches from wall to floor bolts. Older homes frequently have a 10-inch rough-in. A standard toilet ordered without this measurement won't fit.
Skipping blocking before tiling. Towel bars drilled into drywall with no backing will pull out. Install 2×4 blocking between studs before tile goes up, everywhere you plan to mount anything.
Starting demo before materials are on-site. This is the single most common cause of budget overruns. Don't swing a sledgehammer until the vanity, toilet, and tile are in your garage.
Ventilating the exhaust fan into the attic. A fan vented into the attic sends moisture into your home's structure. Every fan must vent to the outside.
Grouting before caulking joints. Movement joints (where tile meets a different plane floor to wall, inside corners of a shower) should be caulked, not grouted. Grout in movement joints cracks.
Frequently Asked Questions
How long does a bathroom renovation take?
A typical mid-range renovation takes 3–6 weeks from demo to completion. Layout changes, permit approvals, and custom material lead times extend that to 6–12 weeks (Sweeten, 2025). Build the material lead time into your planning, not just the construction time.
Do I need permits for a bathroom renovation?
For any plumbing relocation, electrical changes beyond fixture swaps, structural work, or ventilation changes yes, in most jurisdictions. Your local building department will confirm exactly what your project requires. Unpermitted work creates problems at sale and may void insurance coverage.
What is the most expensive part of a bathroom remodel?
Labor typically 40–65% of the total budget. After labor, the shower/tub system and the vanity are the two largest material costs.
Should I order materials before the demo starts?
Yes, always. Order before the demo, not after. Custom tile and vanities regularly run 8–12 weeks. If walls are already open and materials haven't arrived, your contractor waits on your clock.
What's the right budget contingency for a bathroom renovation?
15–20% of your total project budget, set aside before any work begins. Water damage, outdated wiring, and subfloor issues are common once walls open in older homes, expect at least one surprise.
When should paint go on?
Last after tile is grouted and cured, after caulk is applied, after all fixtures are installed. Painting before finishing trades completes their work guarantees touch-ups or a full repaint.
Conclusion
A bathroom renovation doesn't fail because someone chose the wrong tile. It fails because materials arrived after the demo started, blocking wasn't added before tile went up, or permits were skipped and caught later. Follow the phases in order. Order before you demo. Install blocking before you tile. Measure the rough-in before you order the toilet. Get the permits. Keep a 15–20% contingency and expect to use some of it. The bathroom at the end of a well-sequenced renovation is the same quality as the one at the end of a chaotic one except the sequenced version costs less, takes less time, and doesn't require fixing anything twice.